MacMAD Meeting Topic, April, 2023
For our April meeting, we’re covering sites and apps that might be especially useful to those living in Brevard County, Florida.
Printing at the Library
The Brevard County Libraries allow you to print on their printers for a small fee. (10 cents per page for black and white, 50 cents for color). If you have a printer at home, you might not need this. But, if, like me, you have a monochrome printer, and only occasionally need a color print, this is a great option. Also, if you are away from home when you realize you need to print something, you can pick it up at the nearest library, which may be much closer than your house.
Printing at your library is accomplished through services known as printeron.net and printspots.com. You must know the unique web address or email address for your desired library branch. They are different for each of 17 branch libraries. If in doubt, contact your local library. Here are a few sample links.
| Location (print link) | Printing email addresses |
| Suntree/Viera | [email protected], [email protected] |
| Eau Gallie | [email protected] [email protected] |
| Melbourne | [email protected] [email protected] |
If you print via email, give your email a descriptive subject line so that you can recognize which print job(s) you want to pay for and print. When you go to pick up your print job, look for the coin operated machine like this.
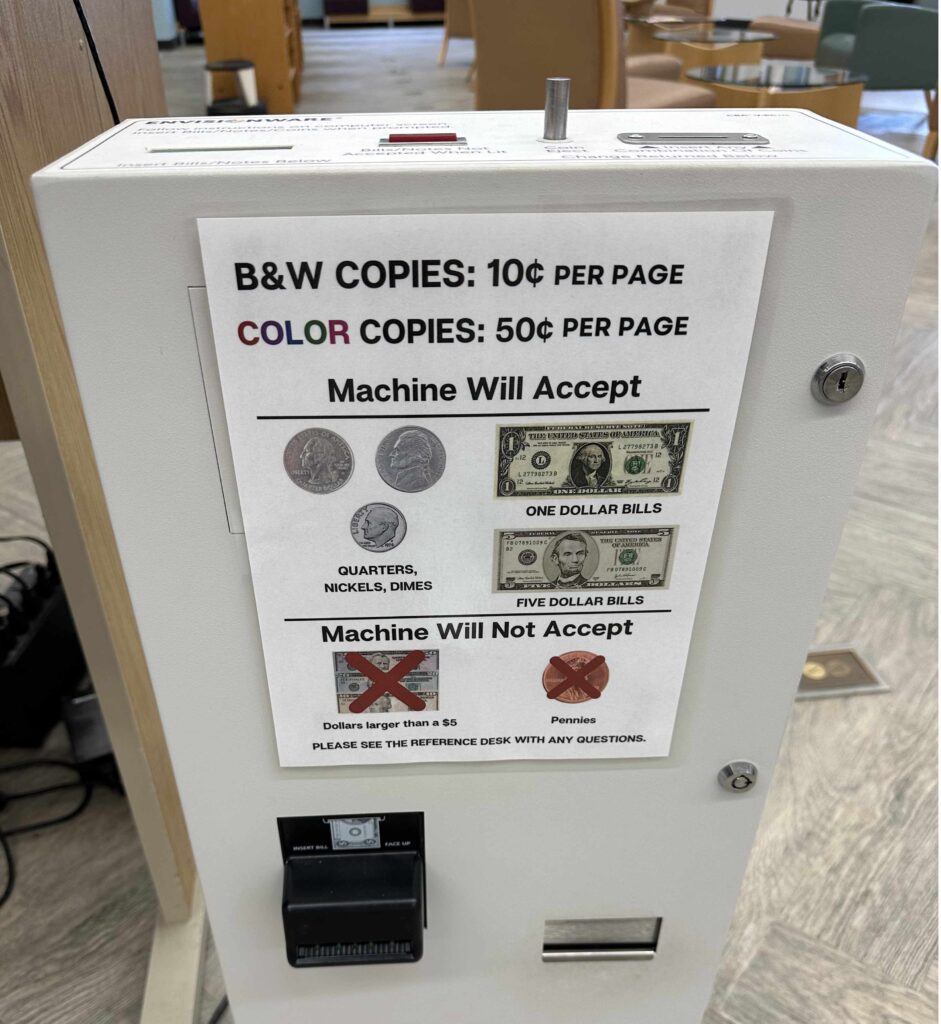
This should be next to a computer that you can use to select the job to be printed.
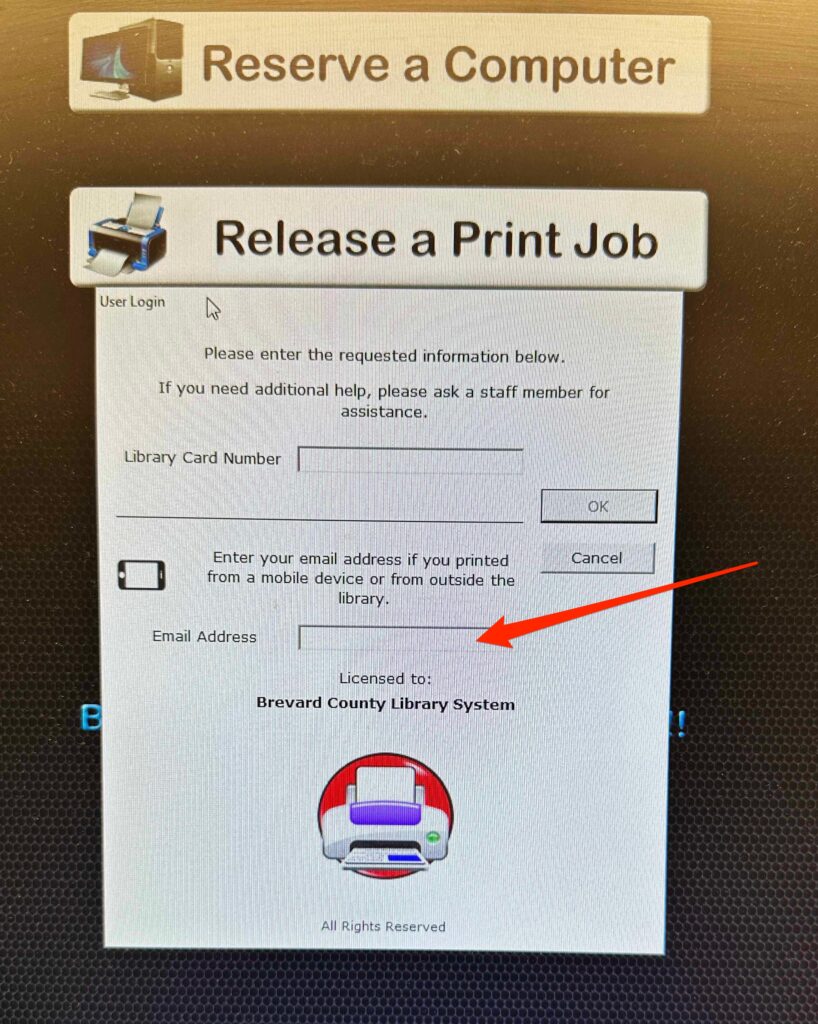
To begin, enter your email address. I did not have to enter a library card number to print. You can pay for your print either using coins and bills in the machine, or you can pay the reference librarian. If you are already at the library when you send the print job, just be aware that it does take a few minutes for the print job to be ready.
Libby and Hoopla Media Apps
Our libraries also offer two nice services that allow you free access to ebooks, audiobooks, movies and TV shows for free on your device. You can use these from your computer, iPad, iPhone or Apple TV. Hoopla is better for TV, Libby is for books. These are connected to your Brevard County Library account, so you need a (free) library card.
| Libby | eBooks, Audio Books | Libby iOS App |
| Hoopla | TV shows, movies, ebooks, Audiobooks, Magazines | Hoopla iOS App |
Space News – Local Launches
Keep up with the ever changing launch schedule with the Next Spaceflight iOS App.

I highly recommend the Next Spaceflight app. Because it lists upcoming launches from all over the world, you should probably set your favorite launch location(s) to Florida, and whatever else interests you in order not to be overwhelmed by distant launches.
The Space Flight Now web site has good general coverage of space topics, as well as a good launch schedule page.
Local News
Spectrum News 13 has a Brevard County page. That’s useful to everyone. If you are a Spectrum TV subscriber, you may find the Spectrum News App useful. There are iPhone, iPad and Apple TV versions.
Florida Today is our only major local newspaper. There is a Florida Today iOS and iPad App. The print edition is available as a separate App. The web page and app feature both public and subscriber-only content.
The Brevard edition of Hometown News is a small, but nice local paper. Their “E-Editions” show an image of the print version of the paper. From their homepage you can sign up for daily news emails.
Weather, Traffic & Emergencies
The National Weather Service has a Melbourne office web page with forecast information.
Text Alerts from the Brevard County Emergency Operations Center – You can sign up for alerts which you can opt to receive by email, text or phone. These alerts include severe weather, fires, rocket launches, boil water notices, law enforcement alerts, etc.
The Florida 511 page might be useful to people who drive a lot. This site has more to it than you might expect from a state agency. You can create a free account, and set up alerts for various specific traffic situations. For instance, you can ask for notifications when traffic is unusually slow on particular routes, on particular days of the week and at specific times. If there is an incident, construction zone, road closure or unusual congestion affecting your route you will be notified by text or email. The site only handles routes involving Interstates or major highways.
Nixle Public Safety Alerts – Nixle.com handles public safety alerts for many cities and counties in the US. You don’t need to create an account. To sign up for alerts, text your zip code to 888777.
Maps and Photographic Views
The Brevard County Property Appraiser’s Office has a lot of information which might be interesting to homeowners, home buyers and sellers. I was very impressed with their Map View page, especially Eagle View. You can take a look at any property in Brevard County from various angles, and going back in time as far as 2007. The image resolution is much better than you would get from satellite coverage from Google Maps, for instance.
It’s worth spending a little time learning to navigate the map. Some nice instructions are provided in this PDF.


WiFi Hotspots
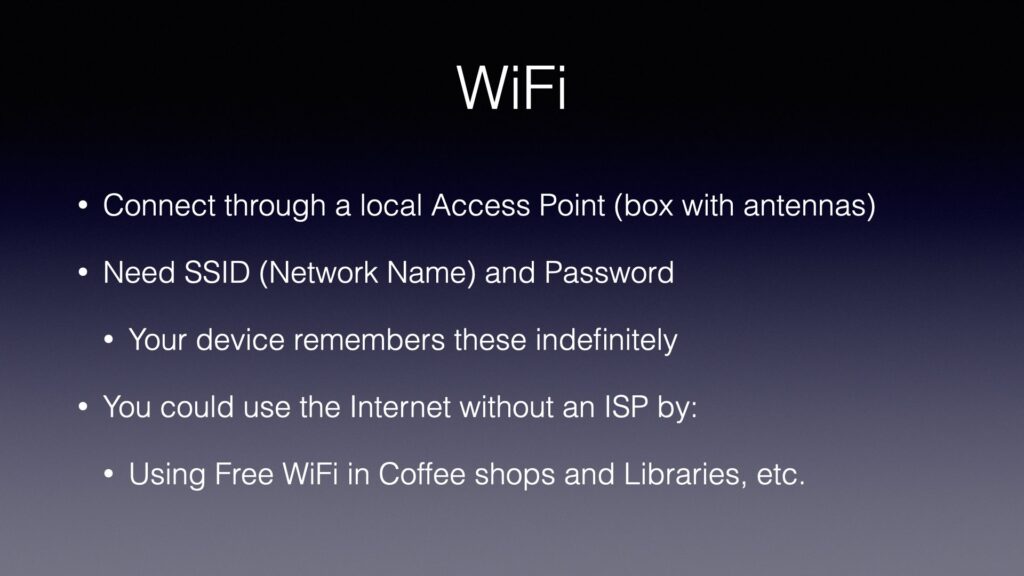
Publix, Home Depot, McDonalds, Brevard Public Libraries and many other businesses have free WiFi hotspots. Quality and convenience varies. Publix and Home Depot are public guest networks, with no password required. Once you have connected your phone to one of these, it will automatically be used next time you are in range. The Brevard Libraries use a captive portal design, where you must visit a sign-in page each time you connect. Even though no password is required, this creates a lot of friction and makes the network less useful.
If you are a Spectrum Internet or Mobile customer, you can use their network of thousands of WiFi hotspots around the country. They have plenty in popular locations here in Brevard. You can check Spectrum’s WiFi map here.

Spectrum’s network includes WiFi networks named Spectrum, Spectrum Free Trial and Spectrum Mobile.
You can connect automatically to Spectrum hotspots if you use the My Spectrum App to install the Spectrum Config Profile. The profile gives your phone a list of WiFi networks to connect to automatically, and provides your credentials automatically, so you don’t need to log in each time.
You can also log in to the WiFi access points each time, which is obviously less convenient. The trick to logging into the App, or logging into the Spectrum access points is to use the correct username and password. You may have more than one. You want to use your account password — the one you use for billing purposes. This might be identified as a Spectrum or Brighthouse “My Services” account, or “Account Partner”. Your Spectrum email account and password is probably not the right one. Once logged into the App, you can turn on Face ID or Touch ID, so you can easily log in again.
The profile that the App installs contains certificate information which expires every six months or so. You will need to occasionally delete the old profile and install a new one from the App. They are not automatically updated.

