MacMAD Meeting Topic February, 2023
If you have photographs taken before you started using a digital camera, probably before about 2005, those photos may never have been digitized and are not available for viewing and sharing in your on-line digital world.
What’s your best strategy for getting those digitized and into your computer or phone?
This Could Take a While
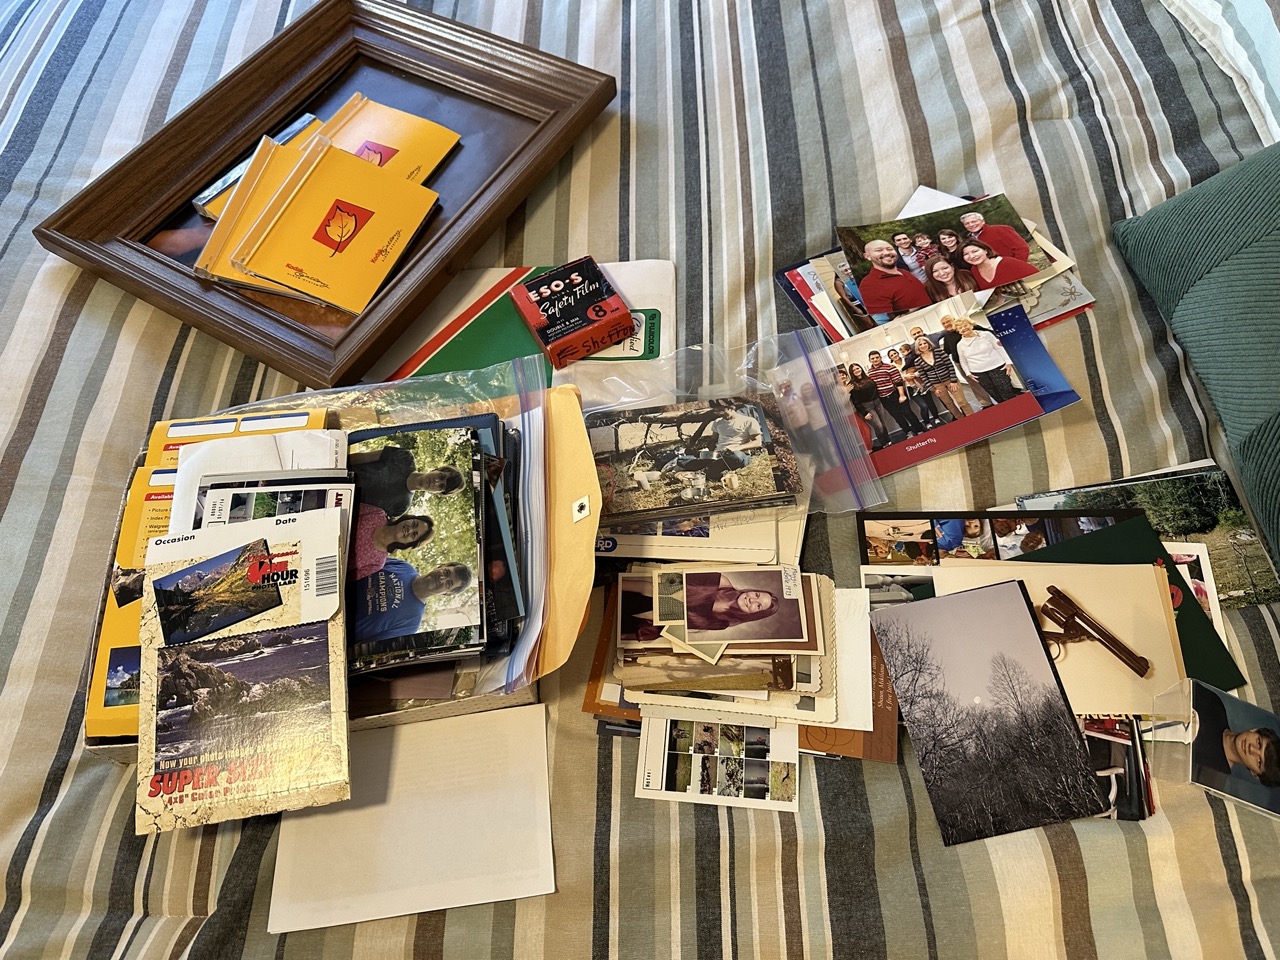
Even the small pile of pictures above contains over a hundred photographs. You should expect that digitizing them all will take a while, even in the best case.
Service, Camera or Flatbed Scanner?
There are three basic strategies:
- 1.) Send them out to a service to be digitized
- 2.) Digitize them with a flatbed scanner
- 3.) Digitize them using your iPhone camera or another digital camera
Digitizing services can be expensive but are worthy of serious consideration. They can save you a lot of time and frustration. Because they charge by the photo, you should be selective as to which photos you send them. This is by far the fastest method. If you have a lot of photos and don’t want to spend years working on them, just get your wallet out.
A flatbed scanner gives high-quality results and you are in charge of the quality, the cropping and everything else. You’ll get the best results that your originals, your equipment and your abilities allow.
A scanner with a transparency feature allows you to also scan slides and negatives.
Using your phone or a camera to “scan” or take a photograph of the original can produce reasonably high quality copies. This method has some advantages you should consider:
- It’s faster than a scanner
- Can digitize large or awkward photos that don’t fit on the scanner
- Can digitize photos in a frame
- You can digitize while traveling without a flatbed scanner
- Can produce better results for originals printed on matte paper
- Works if you don’t own a computer
Using a phone or camera can also produce poor results unless you take the time to get proper lighting.
Organize – Before and After
As you take your originals out of the albums or envelopes to be digitized, look for context. Who’s in the photos? Where were they taken? What was the date? You should write on the back of the originals for future reference. Don’t just write “grandmother”. That’s not very helpful. Maybe “Mrs. Mary Jane (Doe) Smith” would be better. Use a non-smearing ink pen that doesn’t require too much pressure to write. I like Bic Round Stic ball-point pens for this.
After digitizing a photo, write something on the back of the photo saying so, like “digitized in 2023”. This will keep you from wasting time or money scanning the same photo again.
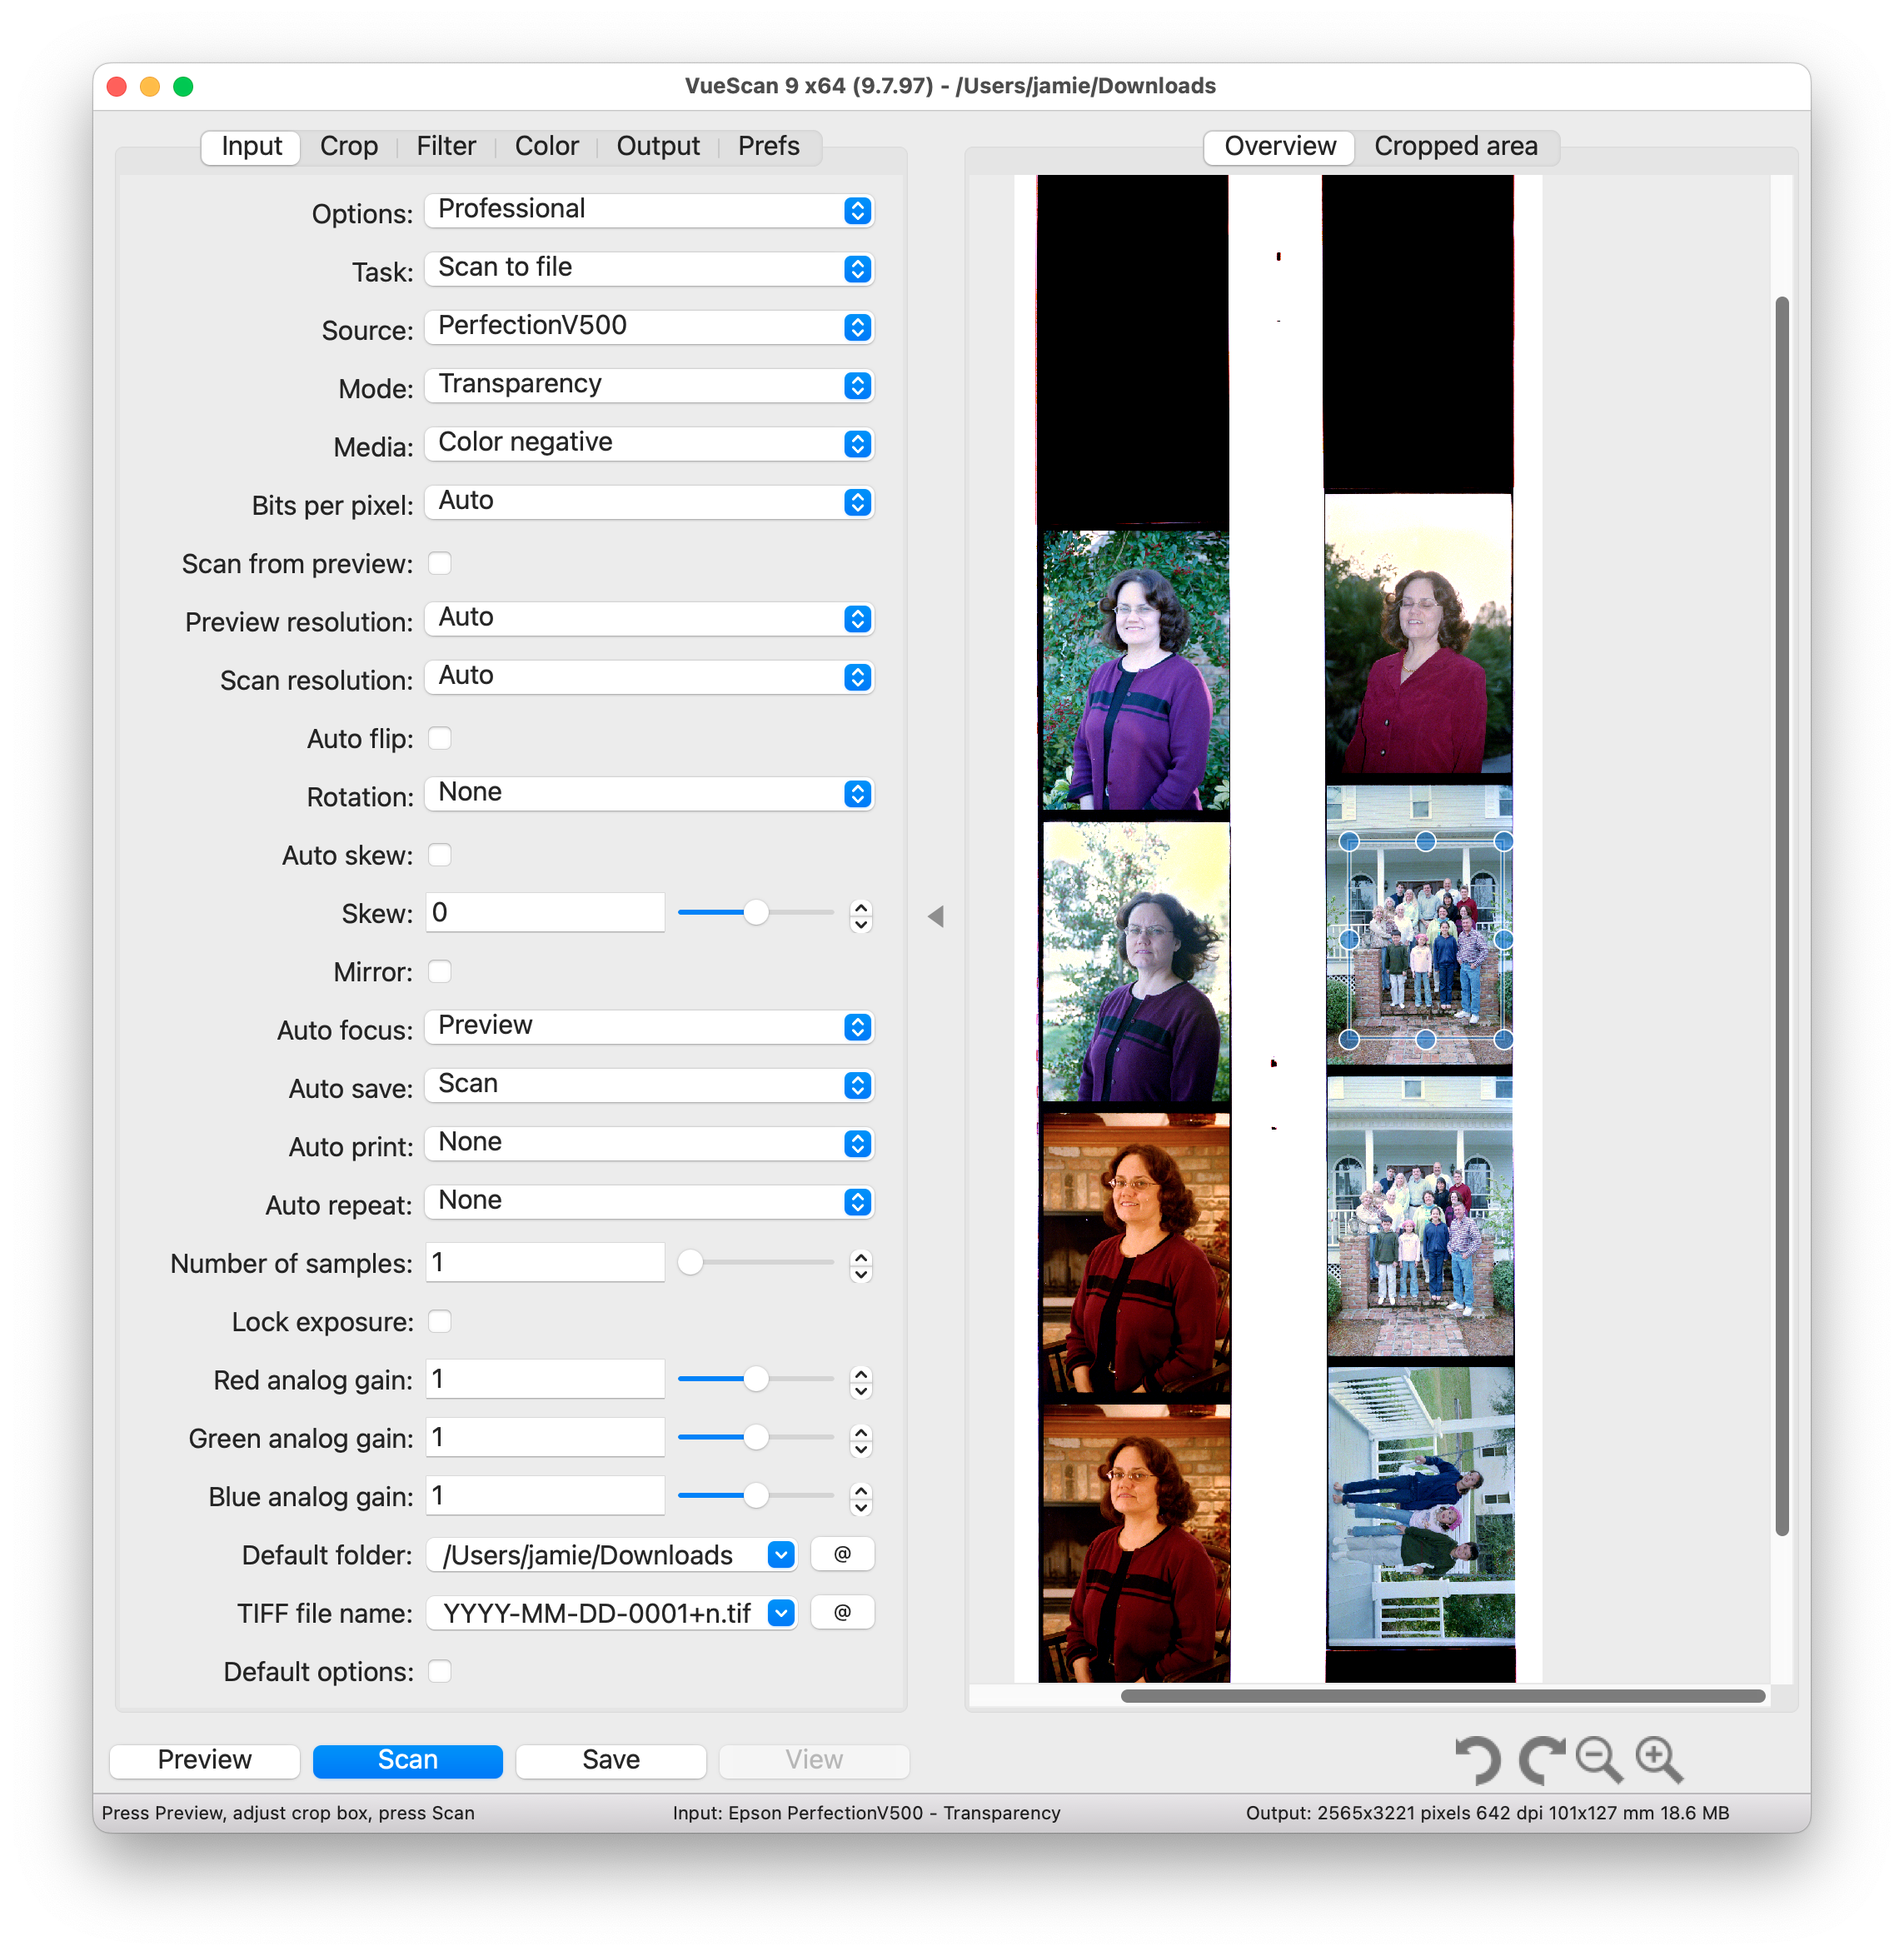
Assign long meaningful file names to your photo files. If you give them meaningful names, you and your descendants might be able to find them later. VueScan will create files with a serial number like 2023-02-17-0007. This would be the seventh photo scanned on February 17, 2023. I keep those serial numbers as a suffix to my file names to avoid having multiple photos all with the same name. Suppose I have a bunch of photos of John Doe, all taken in 1999. If I name them “John Doe, 1999”, they would all have the same name which will cause problems when I try to put them into a folder together. But if they have a unique suffix, no problem.
Long file names are allowed, so take advantage of it.
The Best Way to Restore an Old Photograph is to Find a Better Original
Prioritize and Select
Take some time to find the best existing versions of your photos to digitize. That version may be a print, or a negative, or a slide. In the 2000s, some film development services included a CD-ROM with your photos on it. If you find one of those, you can save yourself a lot of time and trouble, although the CD images may not be high-resolution by today’s standards.
Prioritize slides. Slides are often photographic gold. Usually whoever was shooting slides had a nice camera and was a better-than-average photographer. Slides often haven’t been seen since the slide projector broke decades ago. So, there could be some nice surprises. And, if they have been stored in a closed box, they might be cleaner and in better shape than prints which might be torn, faded and dirty. Slide film often captures and preserves color better than print film.
Sort your photos so you are digitizing a batch of similar photos at once. It is easier if you don’t have to change your settings between photos. So, separate the black and white photos from the color photos, and the 3x5s from the 4x6s.
Be selective. Many of your photos are losers. Skip them. Digitize the best versions of each series.
Sample Workflow
- Scan with VueScan to TIF files in Downloads Folder
- Add descriptive filenames
- Crop, adjust and clean-up in Affinity Photo
- Export final photos as JPG into Download Folder
- Copy final JPGs to preferred storage folder(s)
- Delete temporary TIFs and JPGs from Downloads
- (you do have a backup plan, right?)
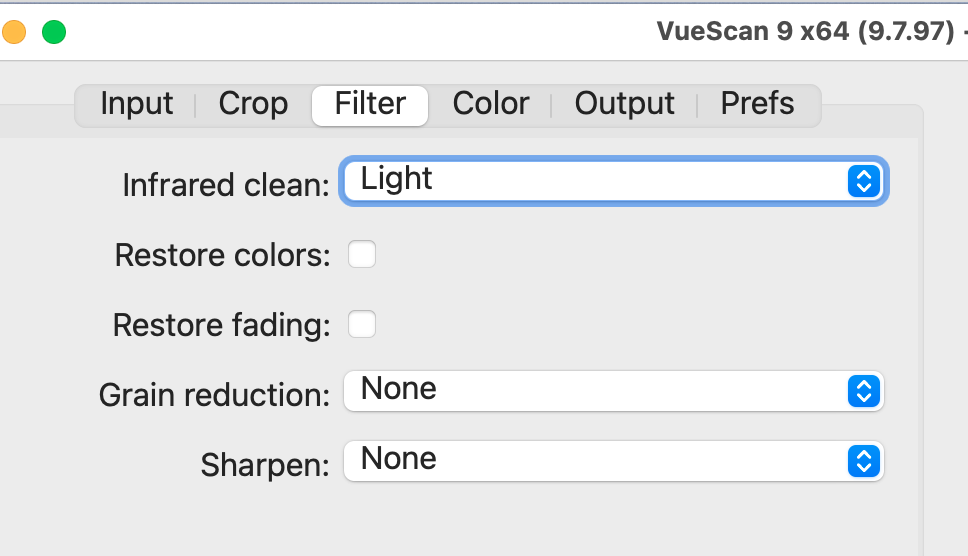
The Infrared clean option is good on negatives and slides. It largely eliminates dust. It does require an extra scan step, so takes twice as long to scan. I think it’s worth it for almost all slides and negatives. A similar option is available in other software.
Restore colors and Restore fading can be amazing for old prints. You have to try these to see if they help your specific photos or not. The Restore colors option does a better job than I have been able to do with photo editing software.

Above is the Image Capture software included with MacOS. It is easy to use, and automatically identifies multiple images to be scanned.
Tips for Digitizing with your phone or camera
Find good lighting. Indirect sky light is best, but avoid direct sun. A shady porch where lots of sky is visible is ideal.
If you are setting up your own lights try to position them off to each side of the photo shining at a 45° angle. If you only have one, that’s okay, but one on each side is better.
Don’t use flash unless:
- You have an off-camera flash
- You are using the PhotoScan App or similar with anti-glare feature
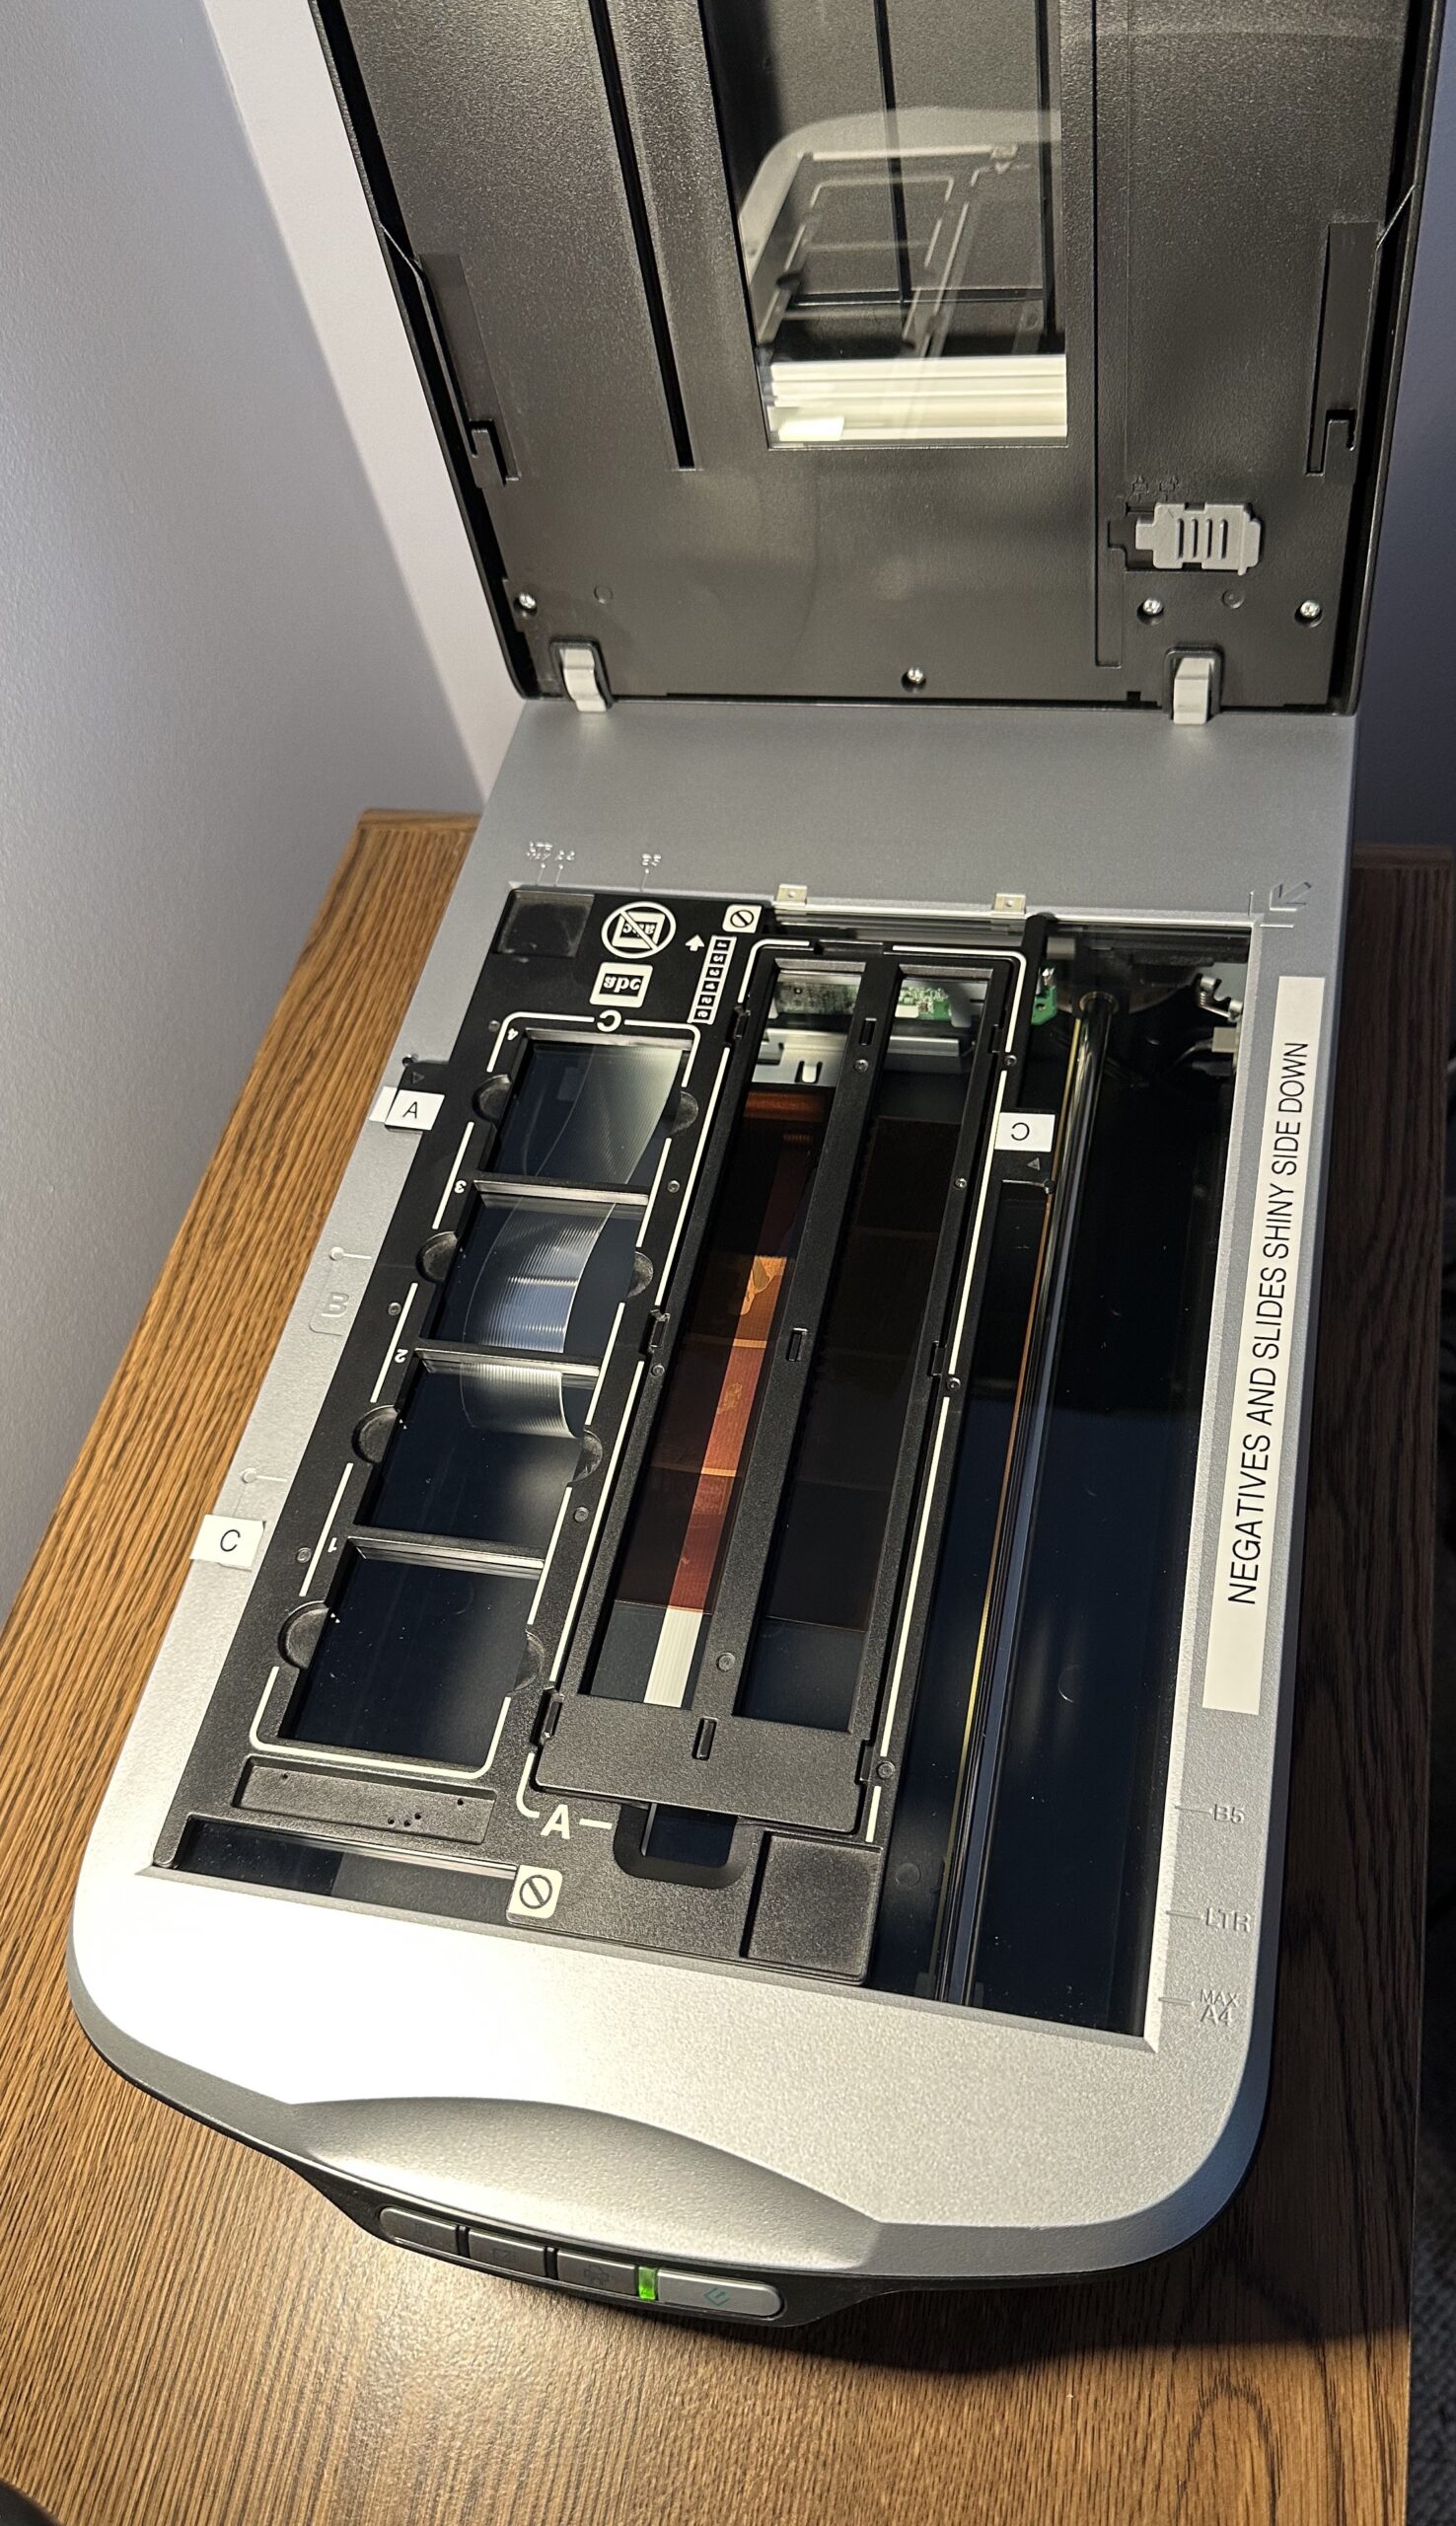
Flatbed Scanner Example
Epson Perfection V600 $276 at Amazon – Scans Photos, Negatives and Slides
Epson makes good scanners, but their software support for MacOS is pretty terrible. You should plan on using 3rd party scanning software (below) eventually. The Epson scanning software is pretty nice, but whether or not it will work on any given version of MacOS is a gamble.
Scanning Software for Mac
 VueScan Software Versions $24.95 to $99.95
VueScan works with almost any scanner model and is kept up to date.
 Image Capture (User Guide) – (Image Capture is included with MacOS)
![]() Affinity Photo 2 Photo Editor $69.99 (Not for scanning, just for editing afterwards.) A powerful image editing program.
Affinity Photo 2 Photo Editor $69.99 (Not for scanning, just for editing afterwards.) A powerful image editing program.
Mail-In Digitizing Services
Memories Renewed – Well Reviewed by Consumer Reports and Wirecutter
Scanning Software for iPhone
 PhotoScan – (Google) Free in App Store. Removes glare from scan.
![]() Camera App (built-in, comes with iPhone)
Camera App (built-in, comes with iPhone)