MacMad Meeting Topic January 16, 2024
In today’s rapidly advancing digital age, smart home technology has become increasingly popular among homeowners. Users need an overall smart home system to control their many devices. There are several to choose from, and Apple is by no means the leading provider:
Amazon Alexa and Google Home are the most popular, and there are others, such as Samsung SmartThings. Apple’s HomeKit is arguably the most privacy-focused system, and is convenient for users already in the Apple ecosystem.
Apple HomeKit is a framework developed by Apple that allows users to control and automate their smart home devices using their iPhone, iPad, Apple Watch, or even Siri voice commands. It provides a unified platform that simplifies the management of multiple smart devices, ensuring compatibility and ease of use.
Features and Benefits:
- Centralized Control: With HomeKit, you can control all your HomeKit-enabled devices from a single app, eliminating the need for separate apps for each device.
- Automation and Scenes: HomeKit allows you to create automation routines and scenes, enabling you to customize your smart home experience. For example, you can create a “Good Morning” scene that automatically turns on the lights, opens the blinds, and starts playing your favorite music, all with a single command.
- Remote Access: HomeKit enables remote access to your smart home devices, providing convenience and peace of mind. Whether you’re at work or on vacation, you can monitor and control your devices from anywhere using your Apple devices.
Requirements
You need to have a WiFi network (a router) to use HomeKit.
You must have at least one HomeKit hub for HomeKit to work. Hubs keep your home automation working while your personal devices like an iPhone or computer are turned off or away from home. Hubs are presumably plugged into power, and stay on 24 hours a day.
Your hub can be a HomePod, Apple TV or iPad. A HomePod or Apple TV is probably preferable to an iPad. Only the Apple TV 4K Wi-Fi + Ethernet model (128 GB) is compatible with Thread networking. Get that one if you want to future-proof your setup, even if you don’t need Ethernet or the extra memory. The HomePod Mini also has Thread. (See below.)
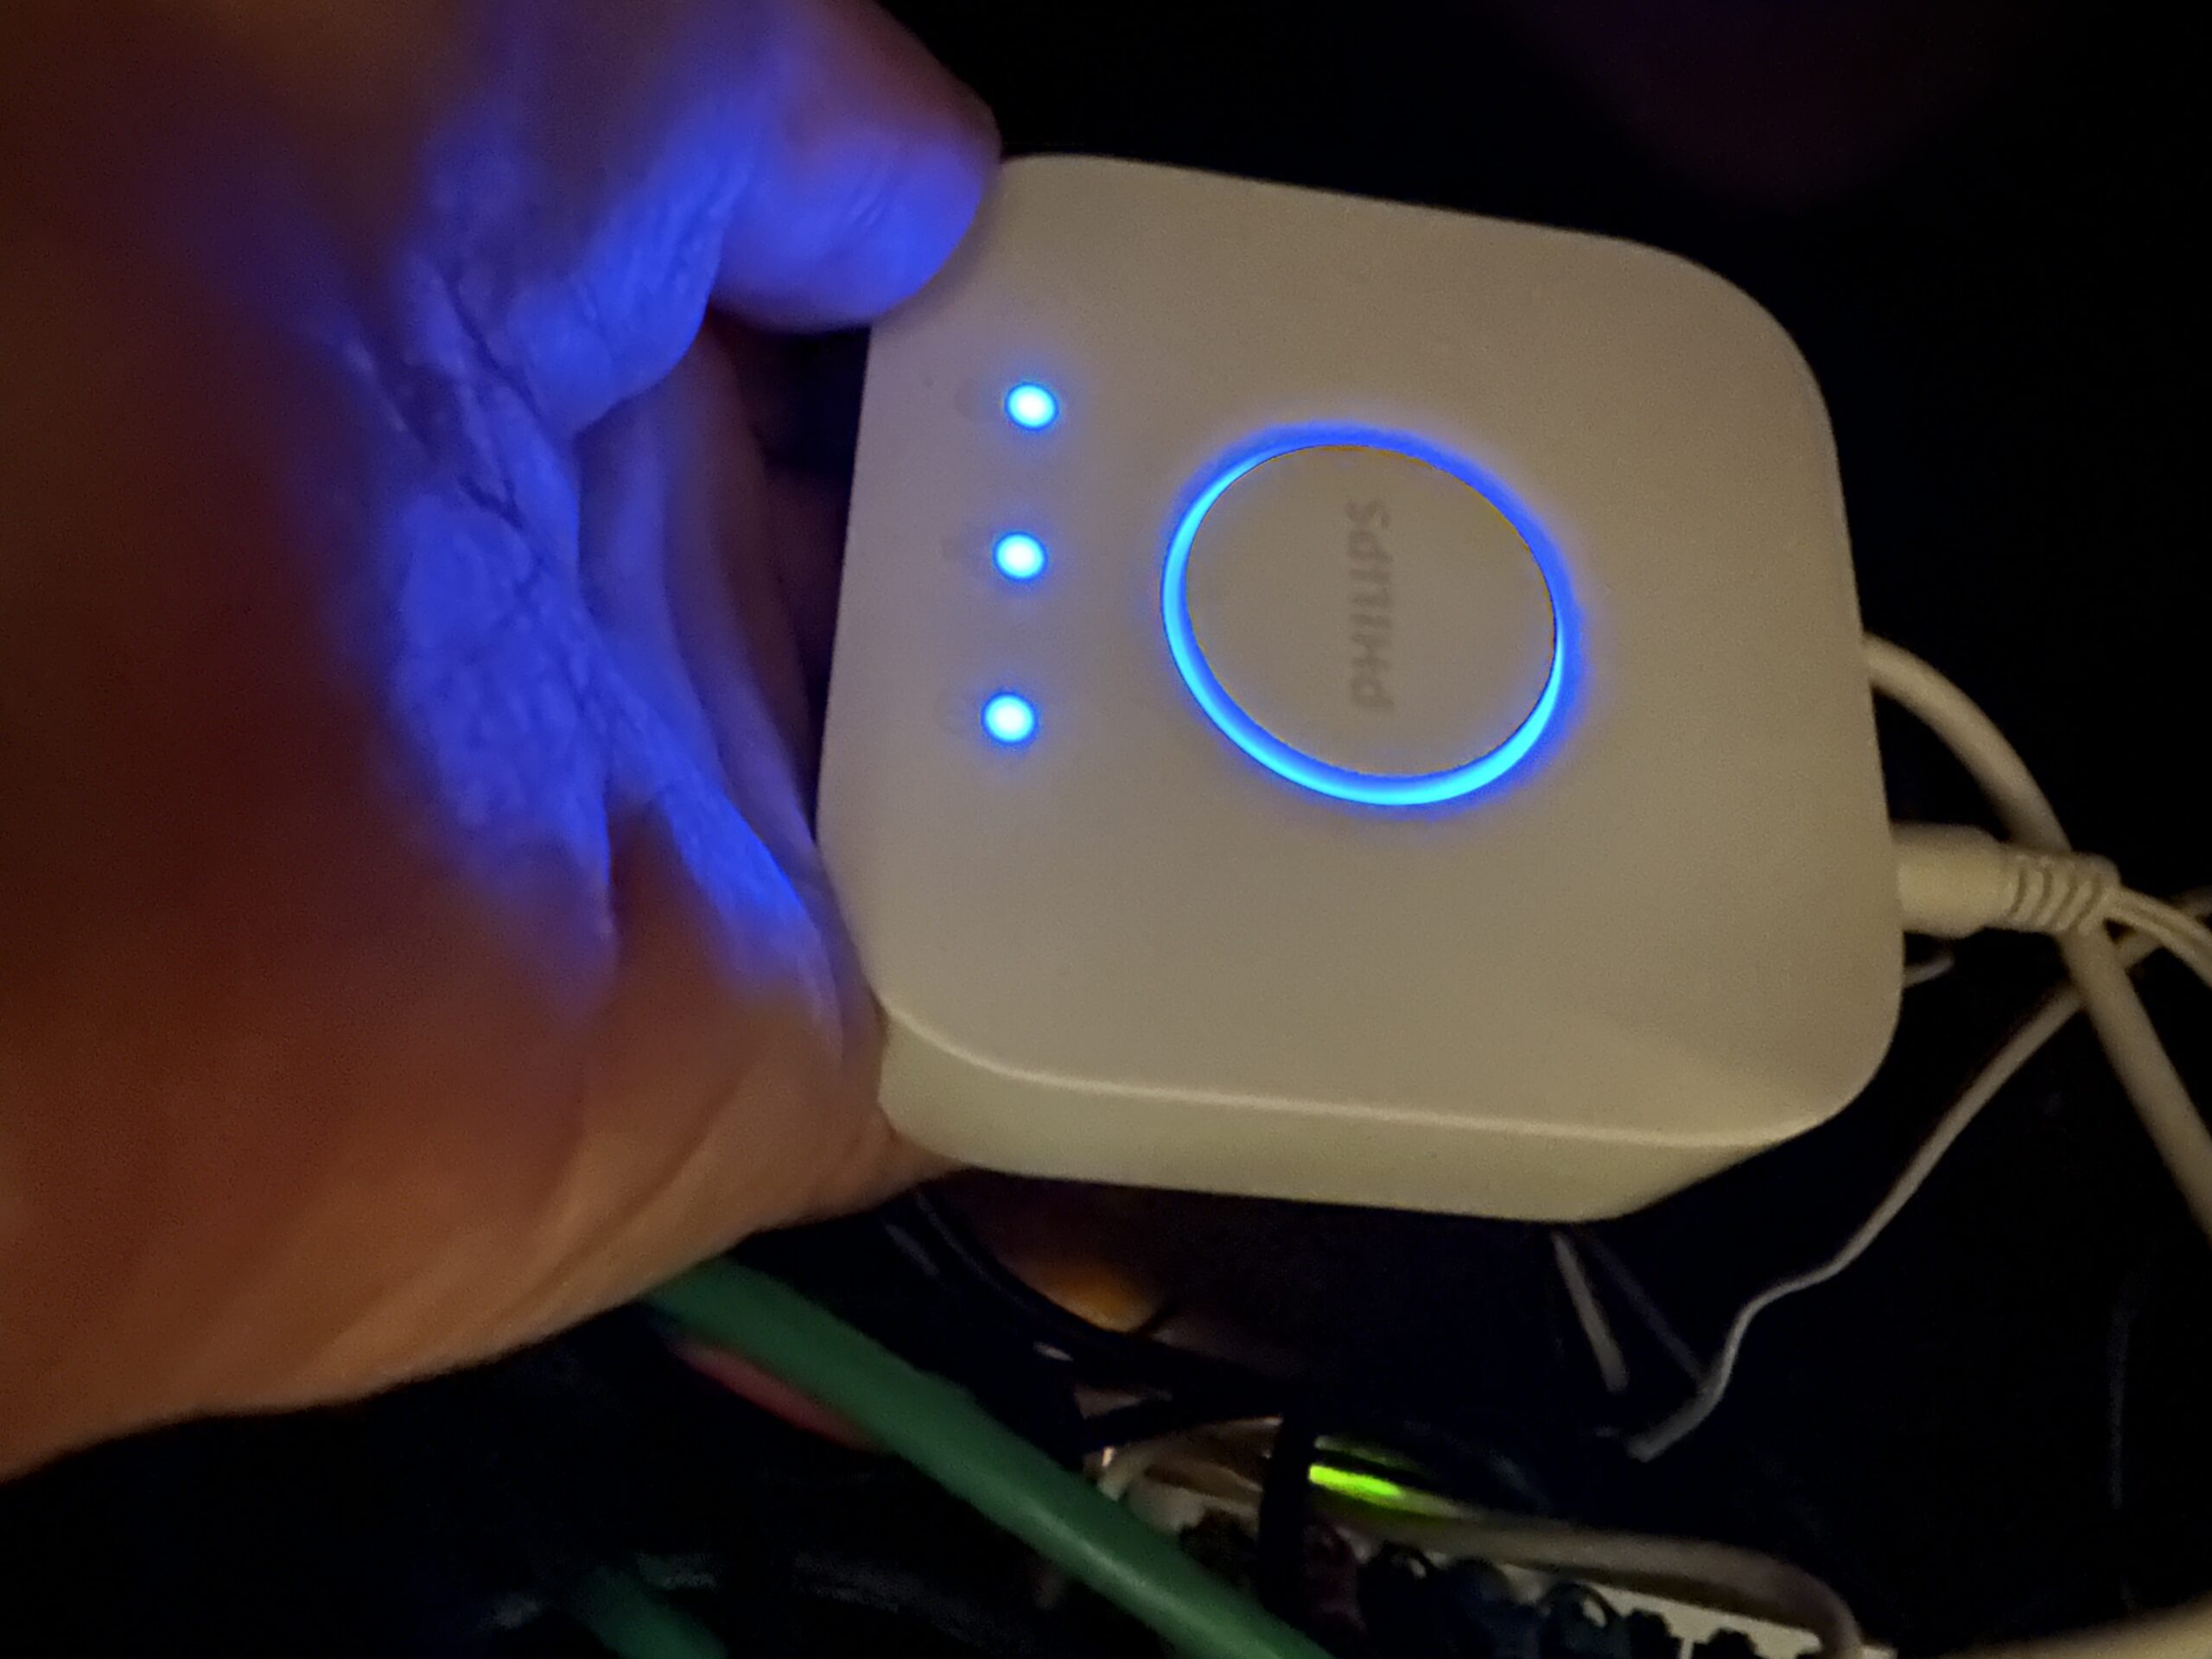
You may also need one or more hubs for specific products. For example, I have a hub for my Phillips Hue light bulbs. You don’t need to interact with these hubs. They just need to be connected to Ethernet, and can live in a closet somewhere.
Competing Standards Replaced by Thread and Matter

When shopping for smart home devices you must navigate a tricky compatibility maze. Many products are compatible with some of the competing smart home frameworks, but not others.
HomeKit users need to shop for devices that specifically state they are compatible with Apple HomeKit. That list is surprisingly short, but growing. Here is Apple’s own list of HomeKit-compatible accessories. There are many others available which are not on that list, but this is a list of solidly-compatible devices.
Hopefully the compatibility situation is improving with the introduction of the smart home interoperability standards called Thread and Matter. Thread and Matter devices interoperate between competing home automation systems like Apple HomeKit, Amazon Alexa, and Google Home. You should soon be able to buy one device and know it will operate with any of the systems.
Thread is a wireless technology. It requires special radio hardware. That’s why you need a special hub, like the HomePod Mini or the latest Apple TV 4K Wi-Fi + Ethernet model (128 GB), to use Thread. Thread is slower, cheaper, and lower-power than WiFi, which makes it appropriate for inexpensive devices which don’t need to send much data.
Getting Started with HomeKit
The foundation of your Home Automation system is your WiFi network. You want to start out on a firm basis. It will become increasingly difficult to change your Network name (SSID) or password as you add more devices. You want to think ahead and establish a Network name that is not unique to you, is not embarrassing, and that could be transferred to another person if you sold the house. You also want to have a really long, secure password which is also something not embarrassing to tell the buyer of your house, or the installer of equipment that uses WiFi.
Once you have dozens of Home Automation devices using your Network and password, you really won’t want to have to change them all.
Home Automation will soon be a consideration for home sales contracts. Contracts will likely specify what devices will stay with the house, and which will not, and may require the owner to transfer the WiFI credentials. Since many devices are attached to the house, like switches, cameras and doorbells, they will probably stay with the house. I know if I was a buyer, that’s what I would want.
You might want to have a separate WiFi network for your home automation, or IoT “Internet of Things” devices. You don’t have to do that right away. If you create a second network later, you can leave the home automation devices on the existing network and put your computers on the new one. It is much easier to change the WiFi connection on a few computers and phones than on numerous light bulbs, etc. Having a separate network reduces the risk of rogue or poorly secured devices by isolating them from your more important personal devices.
Your First HomeKit Device
If you are just starting out with HomeKit, I suggest you start with some smart plugs like these from VOCOlinc.
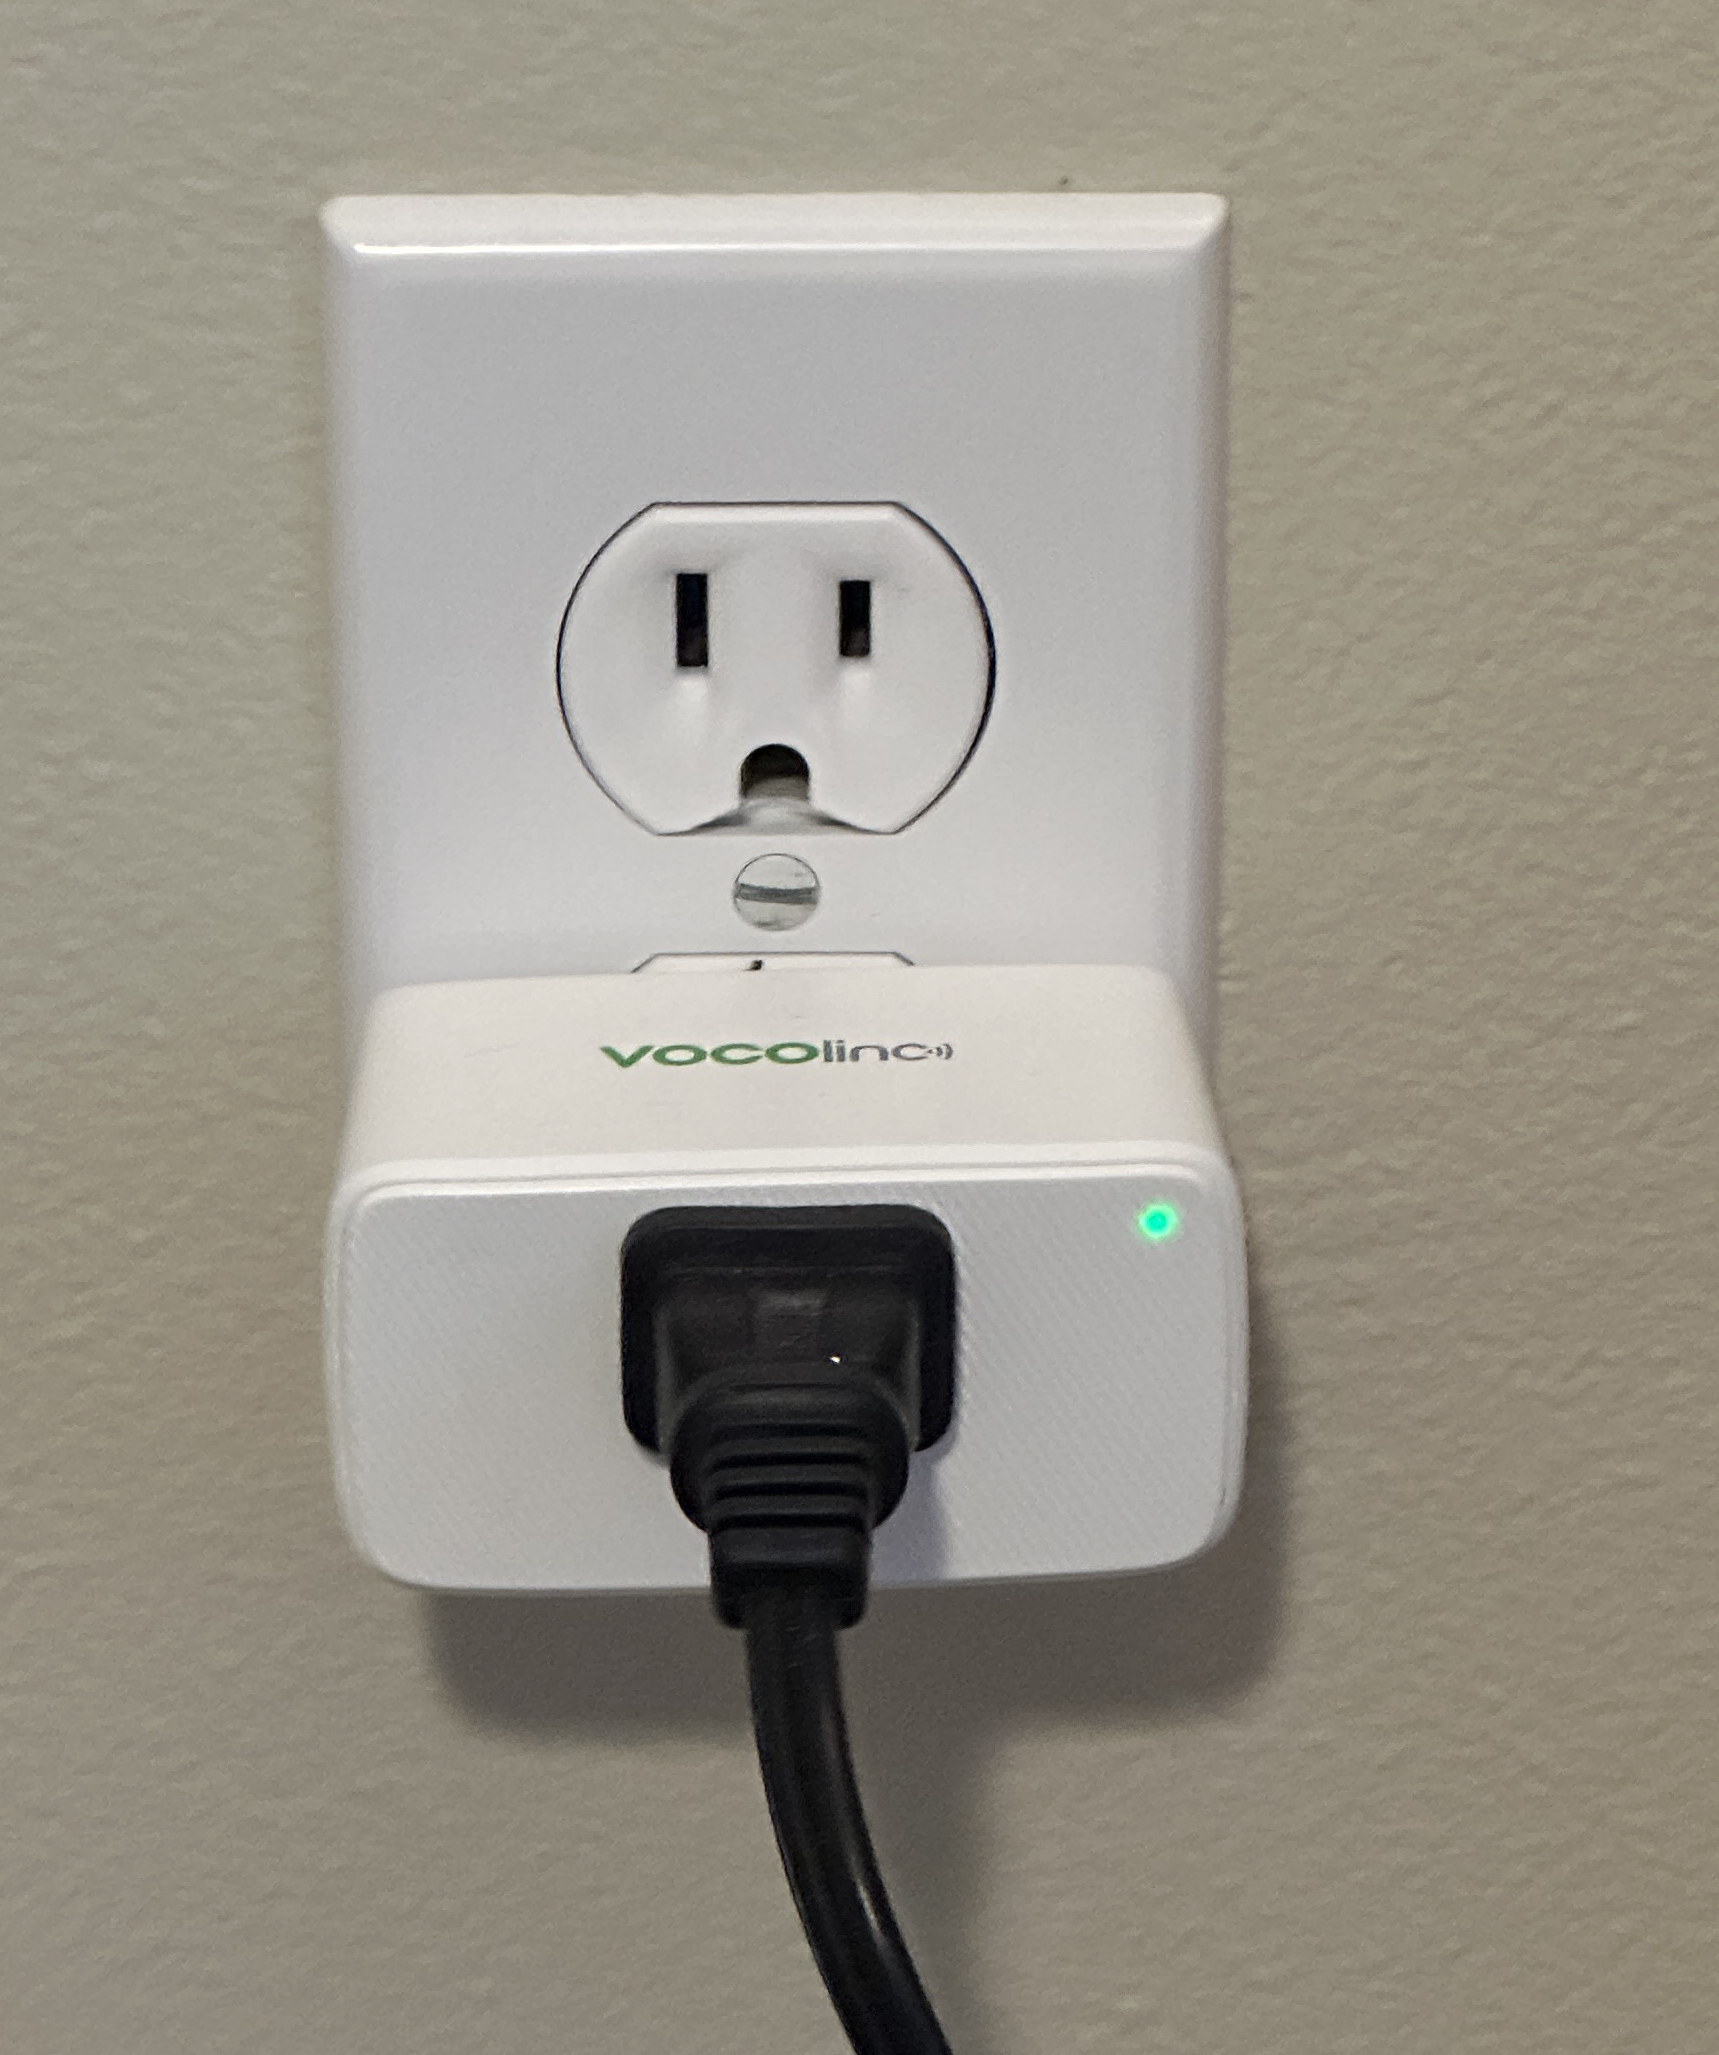
These are not expensive. I found them easy to set up. You don’t need any electrician skills. You just plug them into an outlet, and plug your device into them. These have their own App, but you don’t need to use it. They will work directly with HomeKit.
In-Wall Light Switches
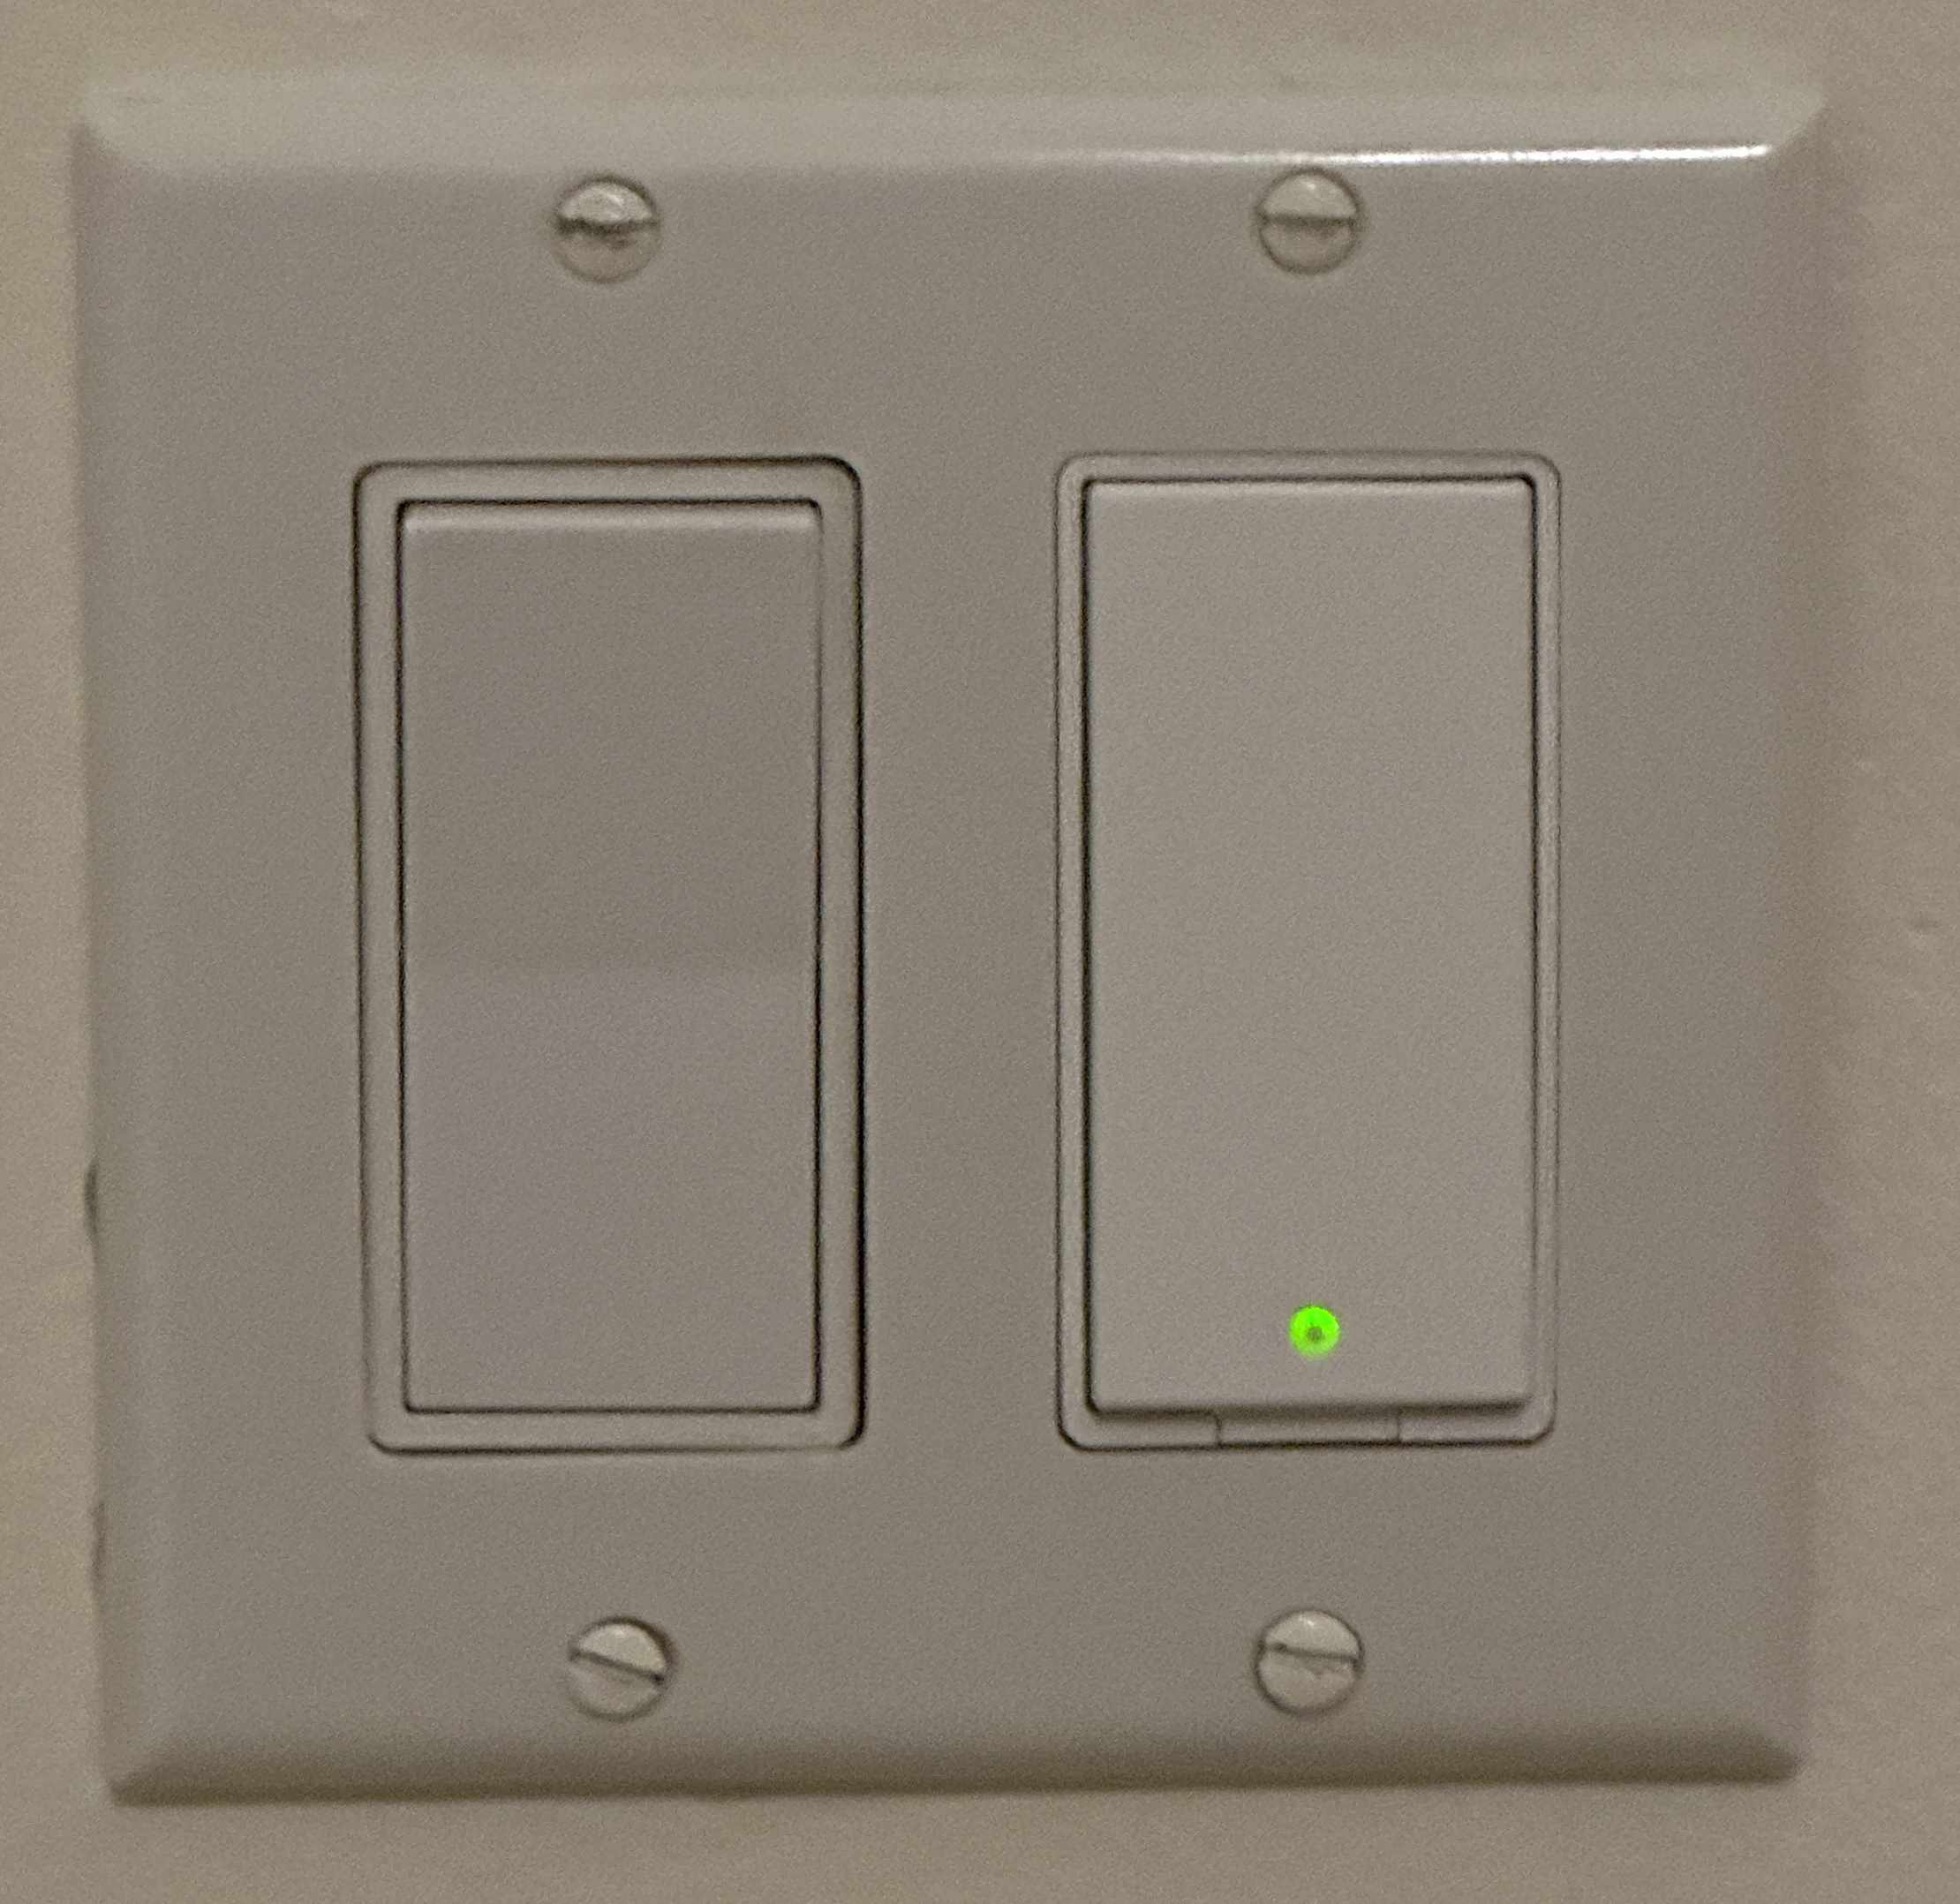
Since many of your lights and fans are built-in, you may want to replace manual wall switches with smart switches. This is about the same difficulty as replacing the switch with a dumb switch. Smart switches are bigger, so the space for wiring can be very tight in the outlet box. If in doubt, consult an electrician.
I have been using Meross brand switches, both simple on-off switches and dimmer switches. I have found these reliable and usually easy to set up, but I had one or two that were very reluctant to join my HomeKit home successfully.
Again, Meross has an App, but you don’t need to use it except during setup.
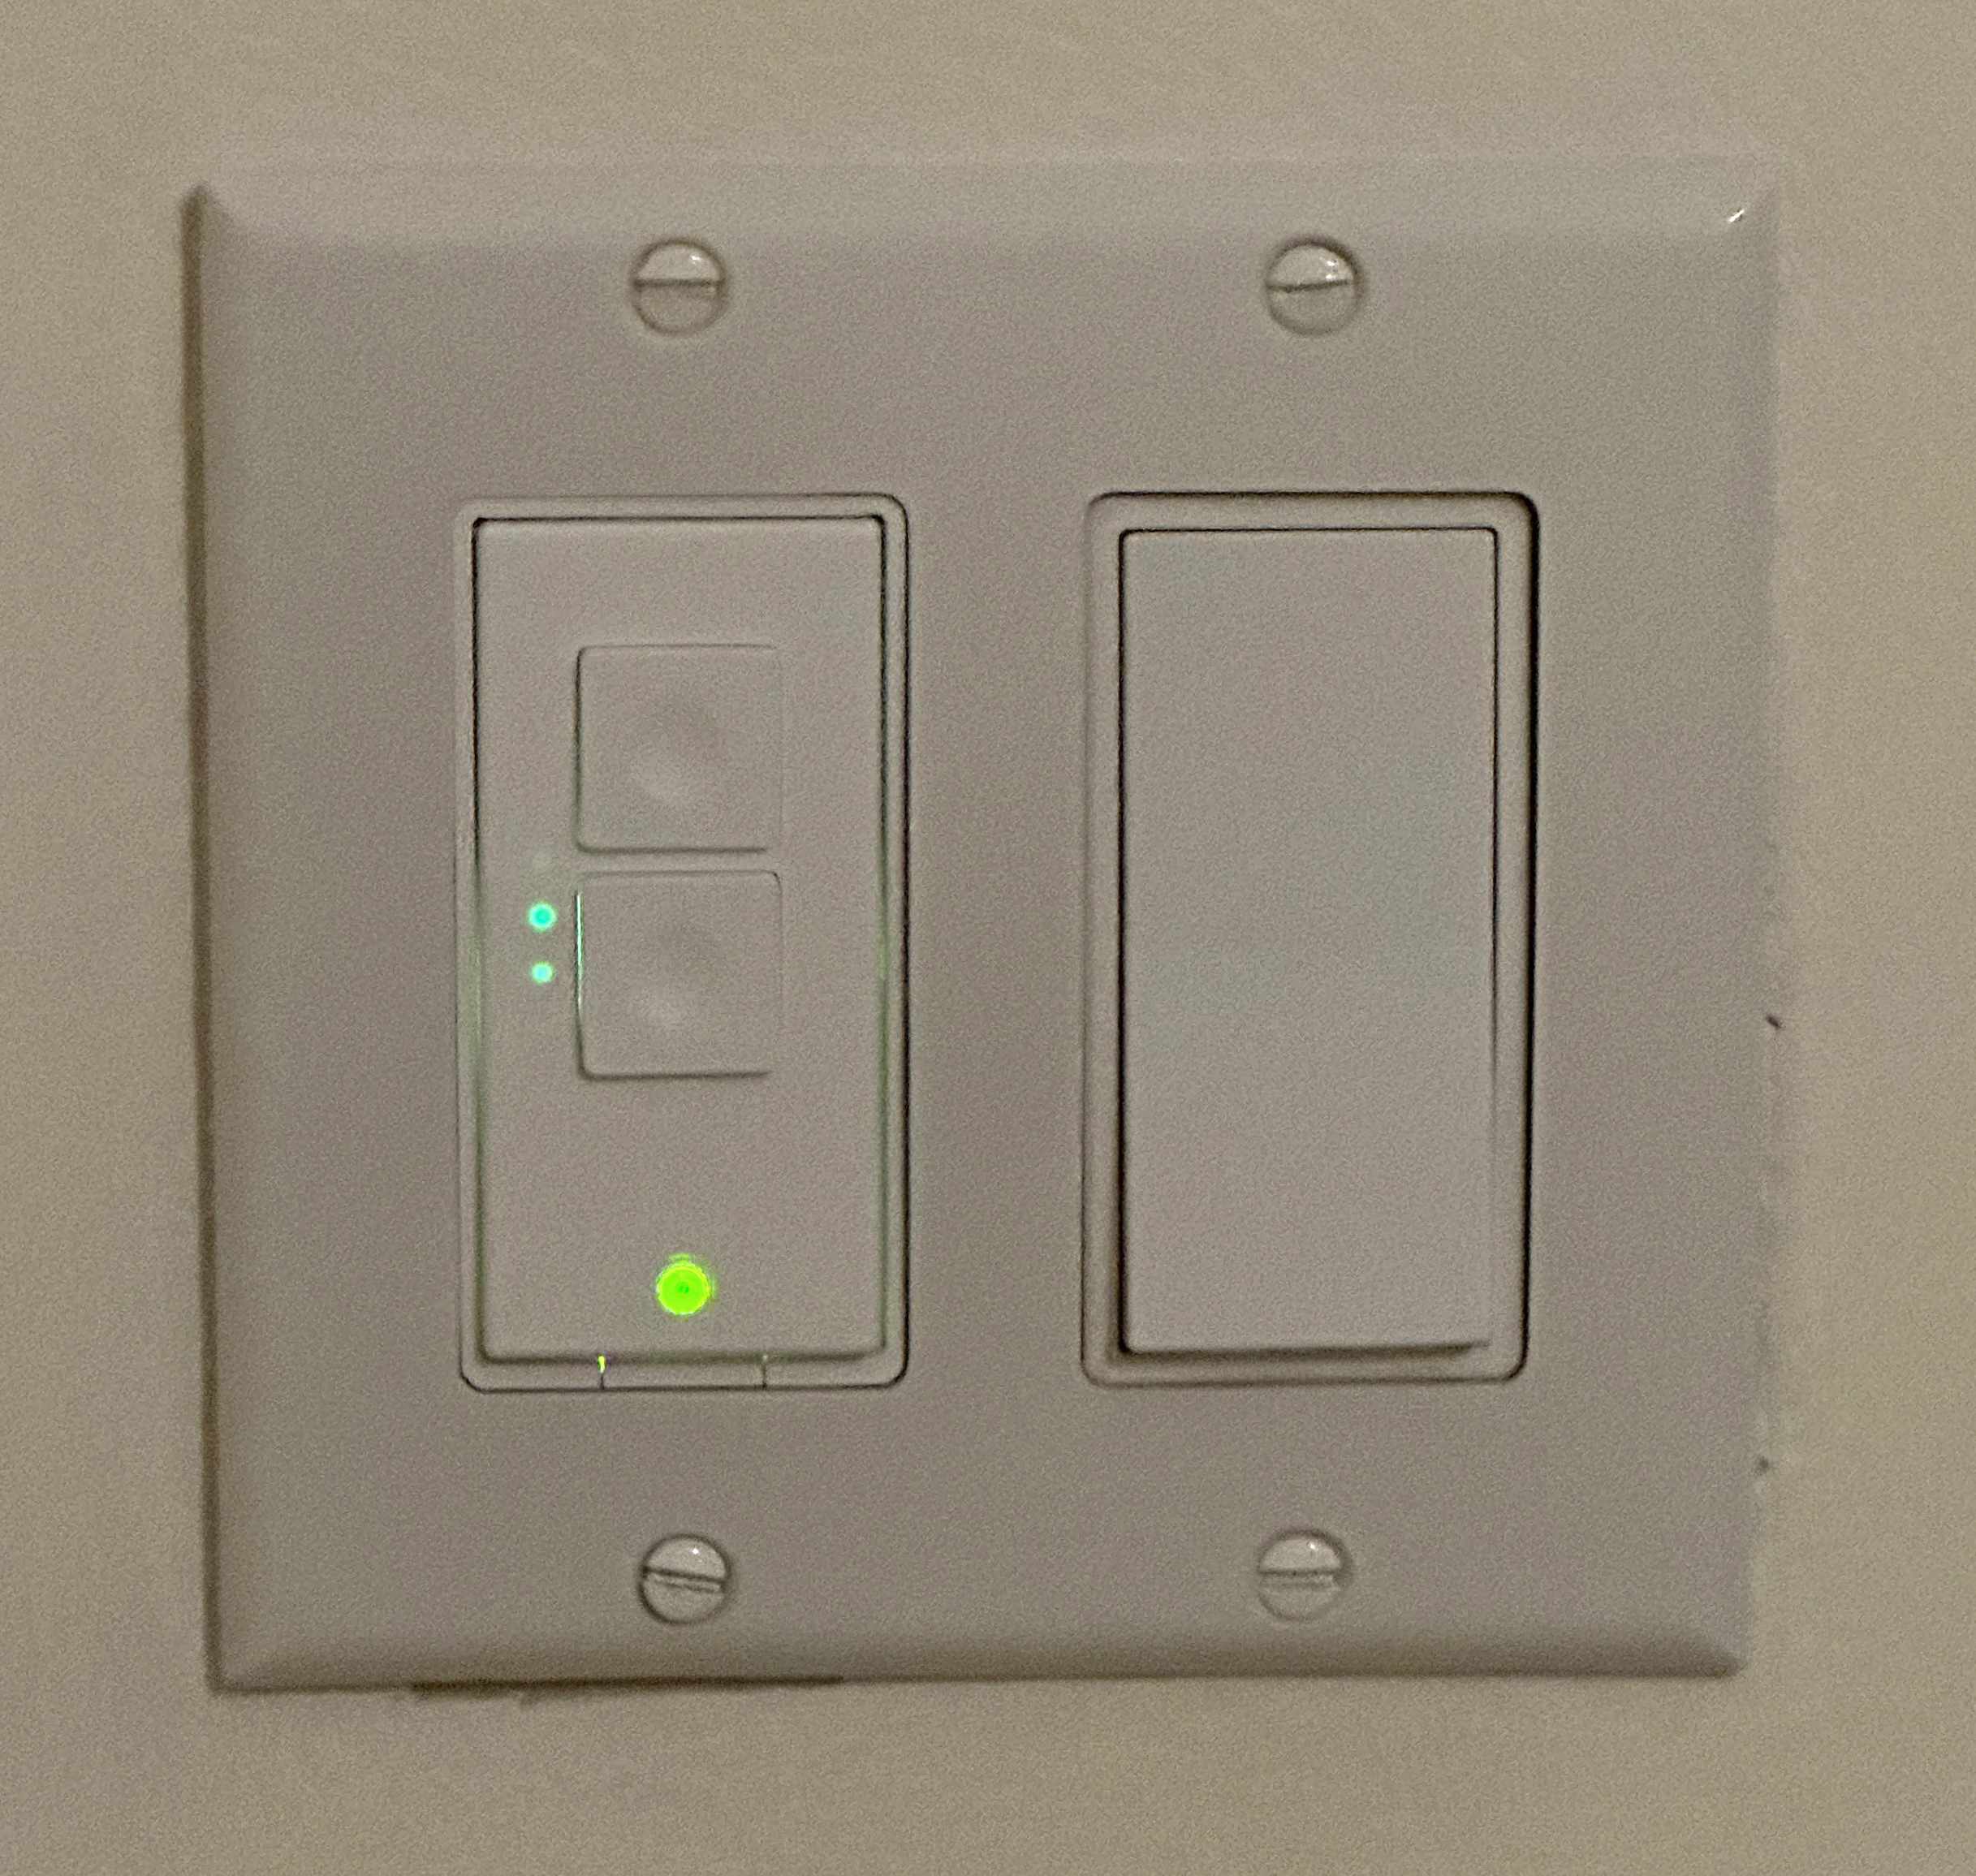
If installing a dimmer switch, make sure that your light bulbs, especially LED bulbs are dimmable. Some LED bulbs are not designed for dimmers and will flicker wildly on a dimmer switch.
Hot tip: when setting up your devices make sure your phone is connected only to the WiFi network you want your devices to adopt. (Your Internet-of-Things network if you have one.) The devices will learn the WiFi network and credentials from your phone.
It’s Not for Everything
Not all your devices need to be smart devices, need to be connected to HomeKit, or even connected to WiFi.
Some things are probably better off as dumb devices.
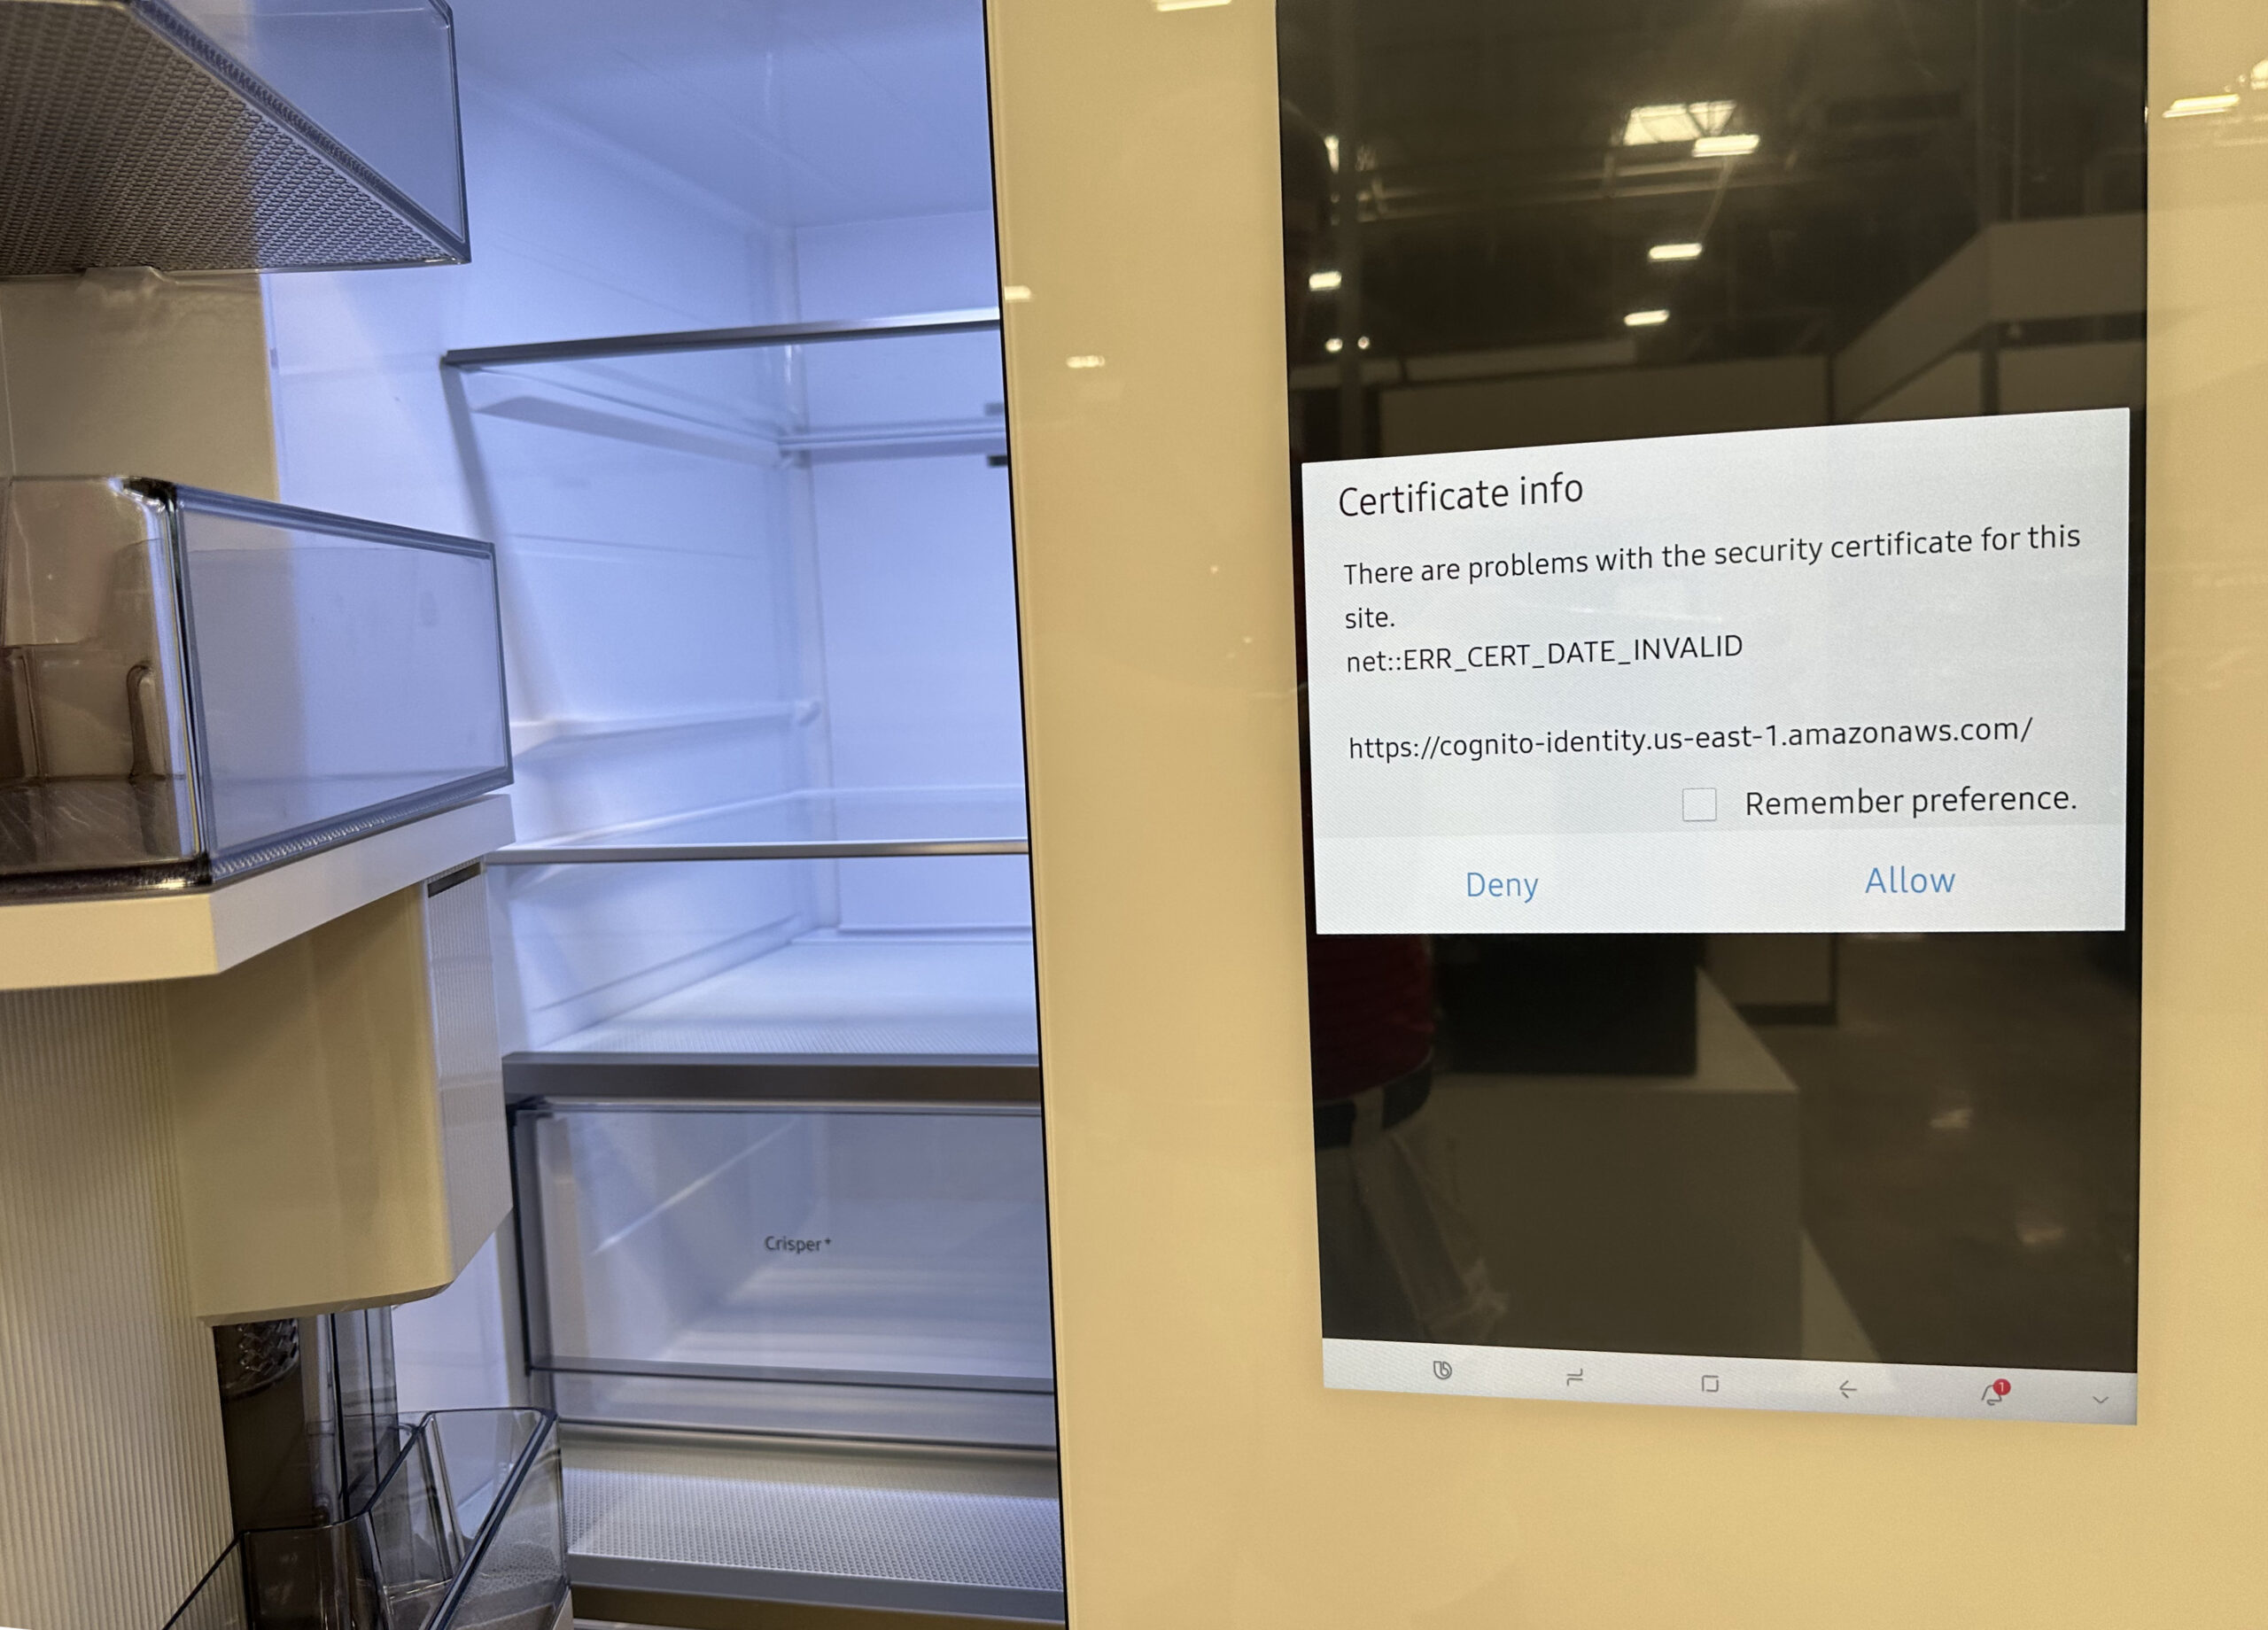
I took this photo in an appliance store of a new “smart” refrigerator displaying an error about an out-of-date security certificate. No matter how nerdy you are, you probably don’t want to be debugging certificate errors on your fridge.
I have several smart home devices that are not on HomeKit, and probably shouldn’t be: Robot Vacuum cleaner, Solar Power System and Clothes Dryer, for example. Those things have their own apps and that’s probably how it should be.
It’s Not Forever
The lifetime of smart devices is unpredictable and is probably shorter than their dumb counterparts.
Reasons that smart devices can stop working:
- Device Needs a software update, but manufacturer doesn’t provide one
- App Needs a software update, but manufacturer doesn’t provide one
- The Cloud is down (e.g. mfg. bankrupt, doesn’t pay their hosting bill)
- Deliberate abandonment/sabotage by manufacturer
- Virtual Supply Chain problem (some cloud or network provider goes away)
I am now wary of devices that require an account to operate. Obviously, if that account stops working, so does the device. Unfortunately that describes most devices sold recently.
Advanced HomeKit Compatibility with Homebridge
Homebridge is a software package that supports plug-ins that extend HomeKit in various ways. As its name suggests, Homebridge acts as a bridge between HomeKit and devices that would not otherwise be compatible with HomeKit. There are many such plugins for both real and virtual devices.
Homebridge can run on various devices and operating systems, including MacOS, Windows, Linux and Synology. Like other “bridges”, Homebridge is probably something you want plugged in and running all the time as part of your home automation setup.
I am currently using Homebridge for three things:
- My Eufy Doorbell / Camera
- My Garage Door (via ratgdo hardware)
- A virtual device to schedule triggering of other devices
A few months ago, my Garage Door, which had been working in HomeKit via Homebridge stopped working via HomeKit because the manufacturer, Liftmaster/Chamberlin (may the fleas of 1,000 camels infest their armpits), deliberately revoked their API which many of their customers had been using for that purpose.
It’s not clear why they did that. Possibly for marketing reasons. Possibly they wanted customers to be forced to use their own app (which shows advertising) to control the garage door. It’s weird because they also discontinued their own HomeKit interface box.
To restore HomeKit functionality, I bought and installed a hardware device called ratgdo. (GDO=Garage Door Opener). It was specially made for just this purpose; allowing Liftmaster garage doors to again be used with smart home setups.
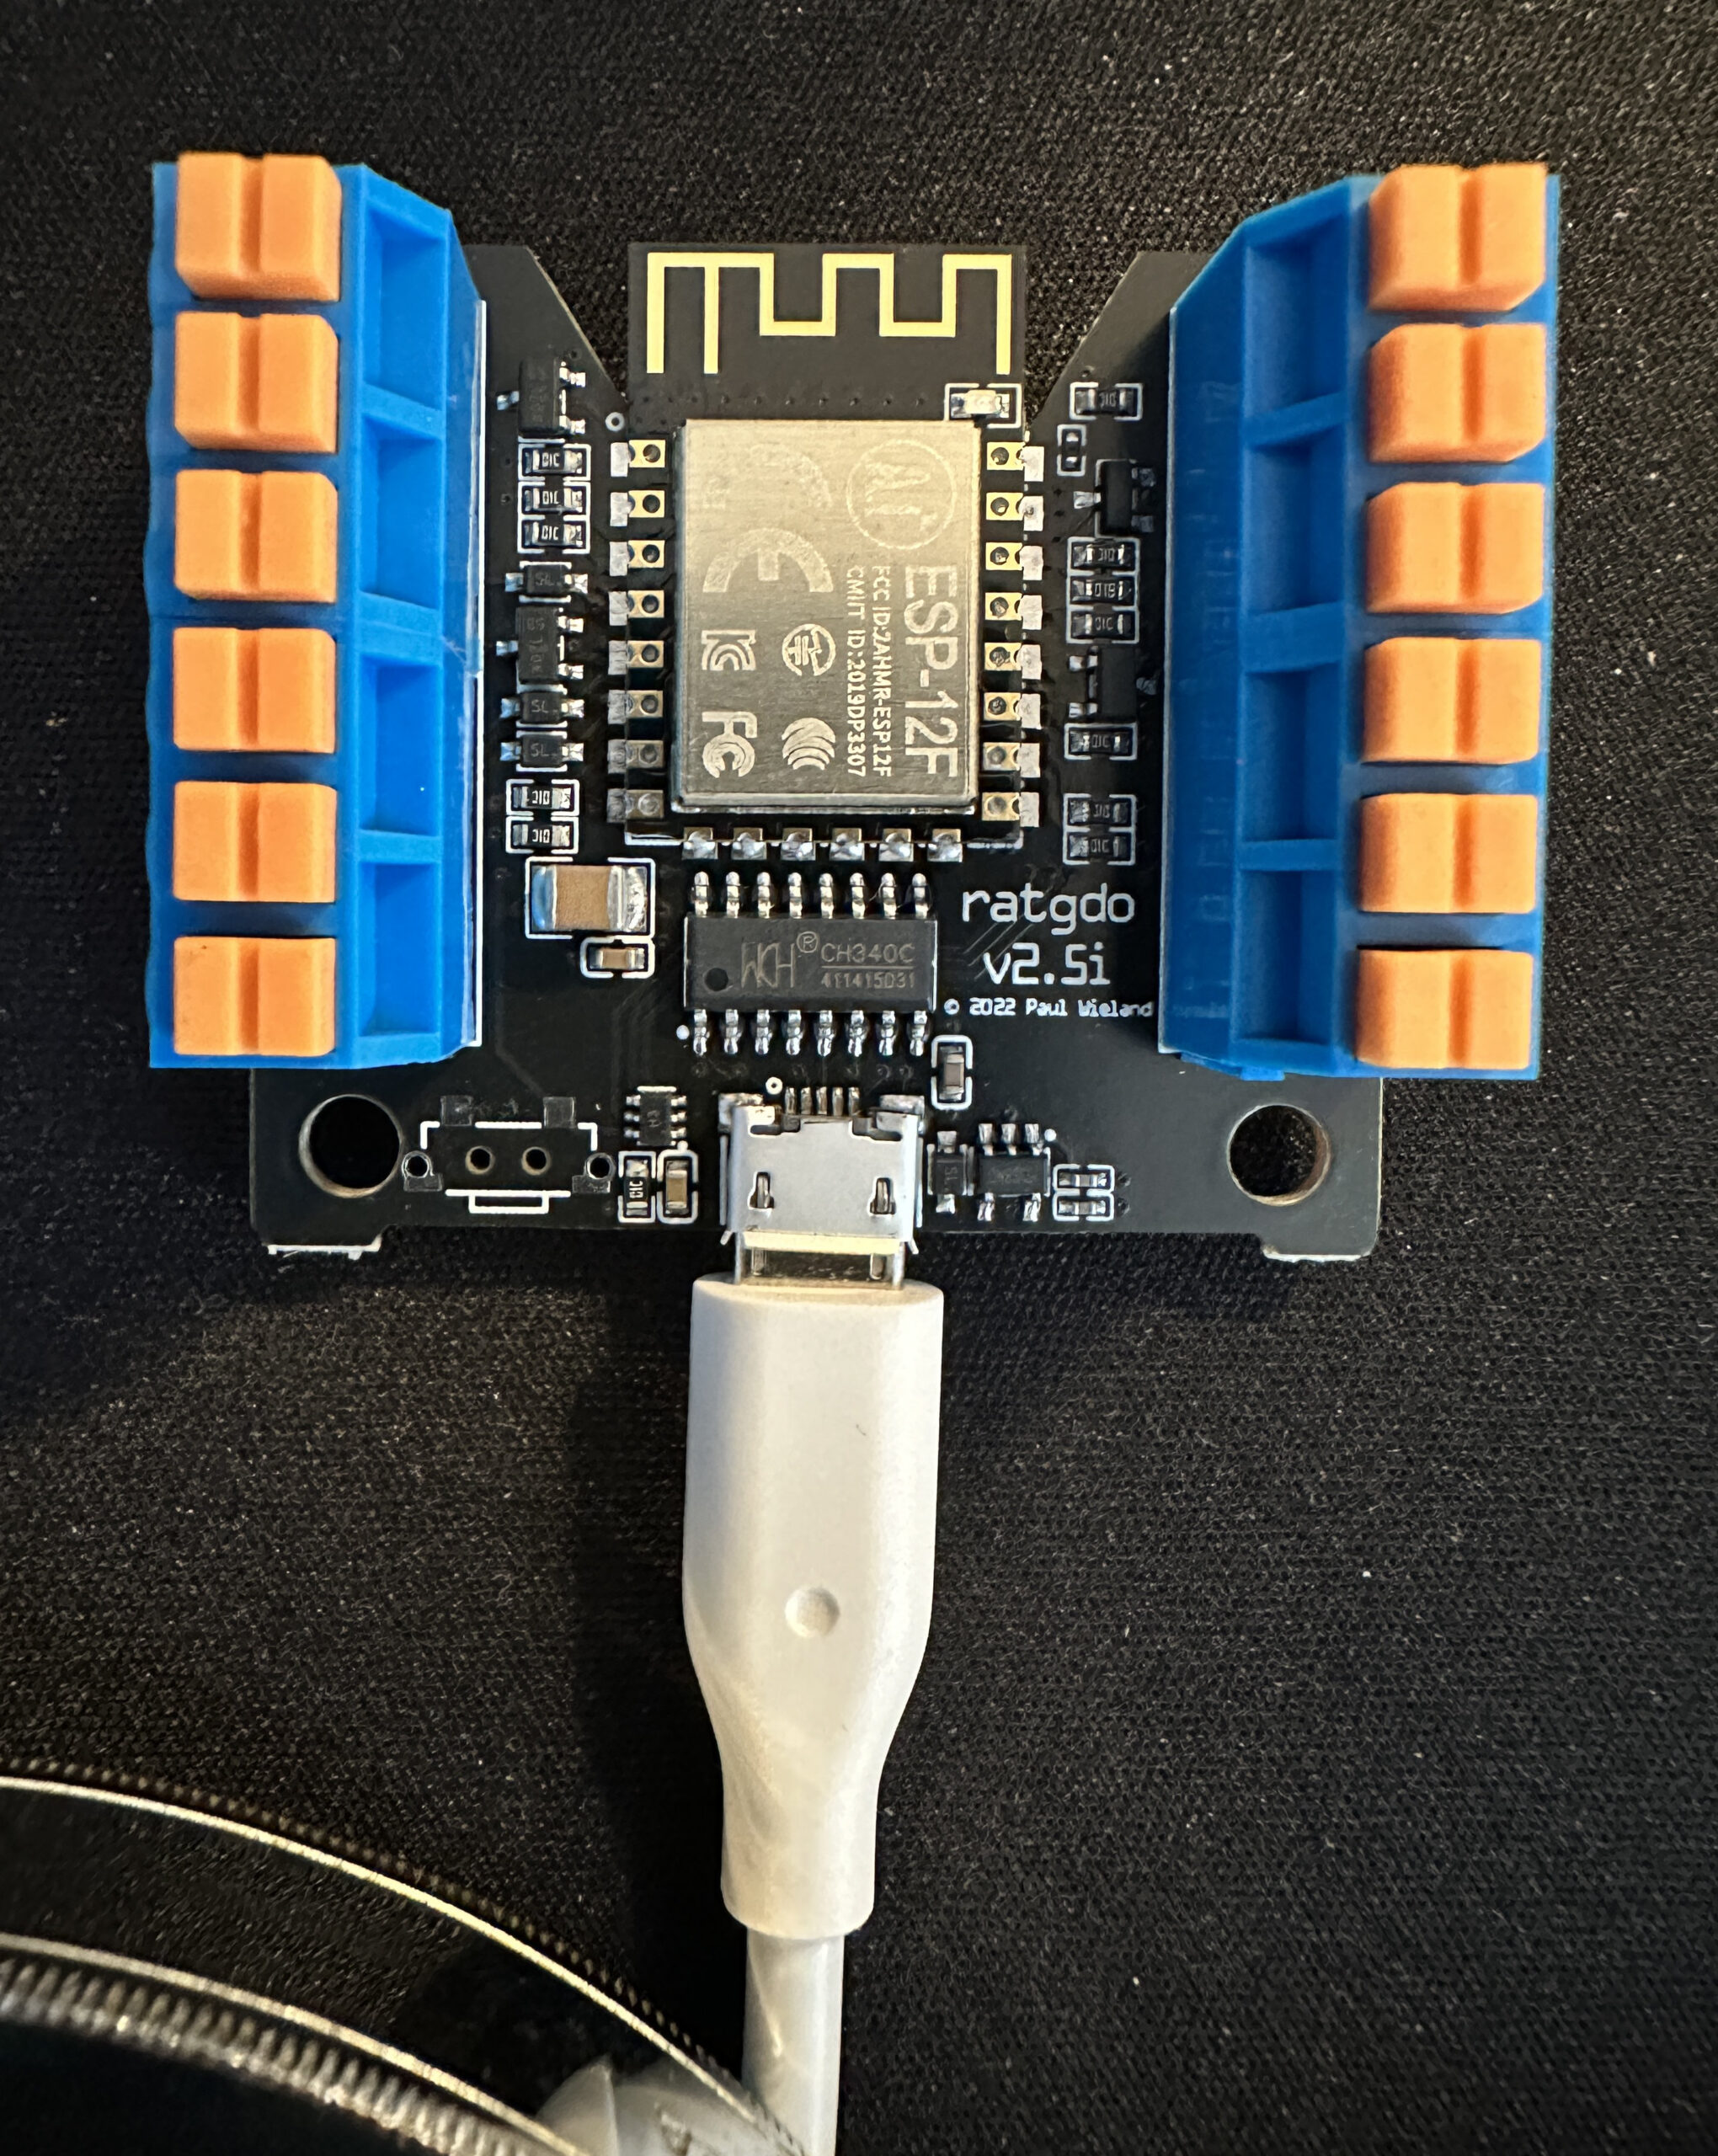
Ratgdo is a bare circuit board powered via a USB cable. It connects to the garage door opener by three wires. It is an entirely local device which requires no connection to the cloud, and no App or account. It does connect to your WiFi network. (Notice the gold antenna trace at the top of the photo.)
With this hardware and the Homebridge Ratgdo plugin, my garage door is again fully HomeKit compatible.
Such are the adventures of HomeKit early adopters.