Recently, I digitized some historic school yearbooks and I want to share some tips on how I did that. It was less work than I thought, and it went pretty fast due to some automation. There is certainly more than one way to do this, but this worked for me.
My goals going in were:
* Good Quality Images
* PDF Output with Searchable Text
* A Separate Image in the final document for each page in the book
* Automate as much as possible
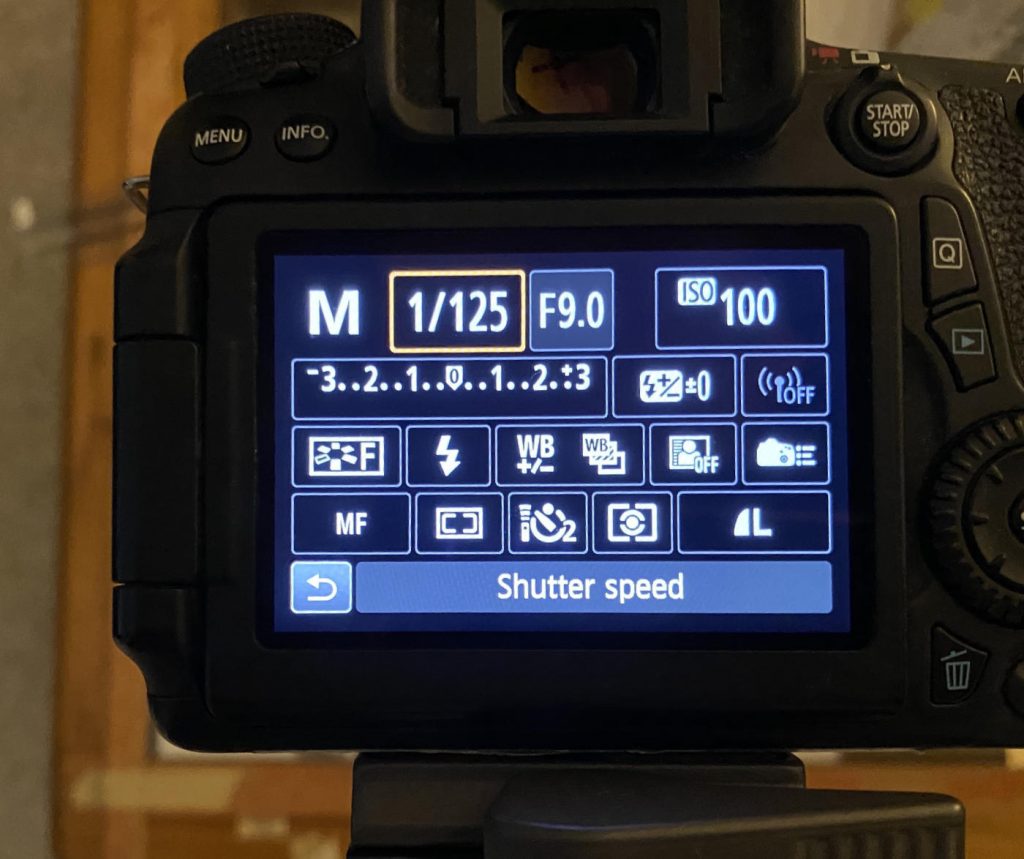
I used a DSLR camera to photograph the pages. I’m not going to go into a lot of detail on the photography aspect, although it is important. You want a lot of light coming from an angle. I used off-camera flash, with a wireless flash trigger. The camera and the flash were on tripods, and the yearbook was on a low coffee table. The camera was looking straight down onto the book. There are many camera settings and lighting settings that will work.
I wanted to be able to go through the entire book and not have to do anything else except turn a page and click the shutter. A wireless remote for your camera helps, although for the last book I digitized, I couldn’t find my remote and did it manually, with a 2-second delay to prevent camera shake. That was not too bad.
I taped some rulers to the table to keep the book firmly in the same position so it wouldn’t move between shots.
To save time, I photographed two facing pages at a time, on one image. These were separated later in software. There was plenty of resolution for this to still yield a quality image.
I set my camera to record JPEG images rather than RAW, because they are smaller and easier to deal with, and because I knew I had the exposure correct and wouldn’t need to adjust it in software.
Software Tool Kit
Affinity Photo
Renamer
PDFpen
SetApp  (Renamer and PDFpen are available in SetApp)
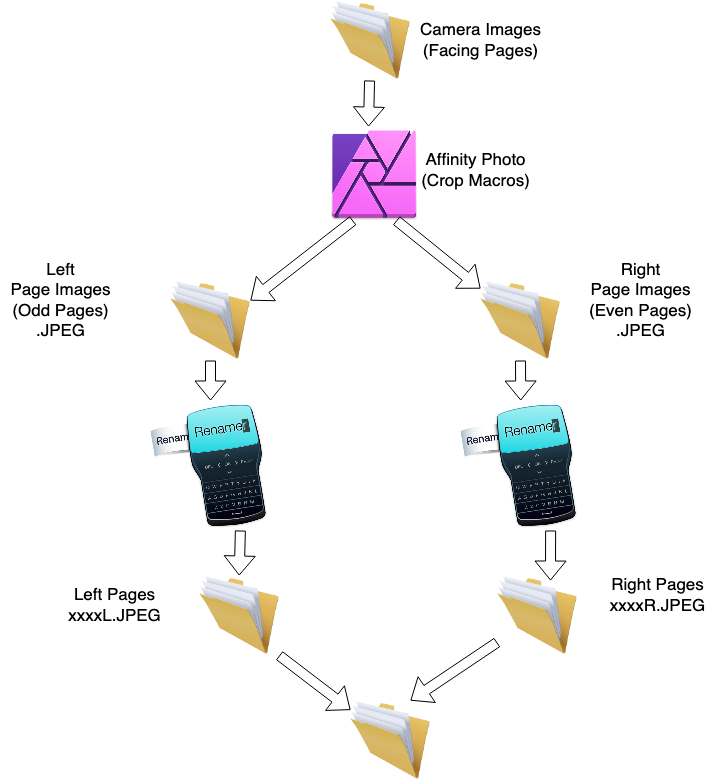
I brought the camera images onto my Mac. Then I used the Affinity Photo App to separate and crop the images of the individual pages. I used two main features of Affinity Photo: Macros and Batch Jobs.
First I recorded a macro. I selected an image about 1/4 of the way through the book. I recorded a macro in which I cropped and rotated the left side of that image as a single page. I saved that macro as something like YBCropLeft. Then I repeated the process for the right-hand image, and saved that macro as YBCropRight. But I didn’t save any changes to any images yet.
Because of the way a physical book lies on the table, the ideal crop for all pages is not identical. To mostly compensate for this, I went through this process twice for each book, once for the first halt, and again for the second half. Each time I picked an image about half-way through that half of the book as my prototype for recording the macros. The first prototype was 1/4 into the book, and the second prototype was 3/4 into the book.
Now I used the Batch Job feature of Affinity Photo, which is in the menus at File:New Batch Job…
I dragged all the images from the 1st half of the book into the sources pane. I selected the YBCropLeft macro (and Applied it). I clicked “Save as JPEG” and picked a new, different folder for the output files.
When you run the batch job, you’ll be amazed at how quickly it processes all of those files. The resulting files will still have the same names that came out of the camera, e.g. IMG_1234.jpeg. But, now they are cropped to the left side only.
Affinity Photo doesn’t give you any naming options for the output of a batch job. This is where Renamer comes in. I used Renamer to quickly add an “L” to the end of all the output file names. So, for example, IMG_1234.jpeg became IMG_1234L.jpeg. This is so we can keep them straight and don’t have two files both with the same name.
Now, repeat the batch job, this time using the YBCropRight macro. Put the output into another new folder.
Again, use Renamer. This time, rename all the right side files to have an “R” at the end, so the names will become something like IMG_1234R.jpeg.
So, now, we repeat the entire process for the 2nd half of the book. Record two new Left and Right macros. Run two new batch jobs, sending the output to yet another pair of empty folders. Rename them to L and R as appropriate.
Now, copy all the R files and the L files from both halves of the book into one big folder. There shouldn’t be any duplicate file names. “L” happens to alphabetize ahead of “R”, so, the left side of each image will be alphabetically just ahead of the right side of that image, which is exactly what we want.
Now, if you had any oddball pages that didn’t fit the pattern, go ahead and digitize them, and contrive a file name so that they fit in the correct spot. For example, you might name the image of the front cover something beginning with “A”, so it will be in the front, and the back cover something like “Z”, so it will come last. If your book has a centerfold or map insert or similar, copy it separately and name it something that puts it at the appropriate spot in the alphabetical list of images. Or, you can just wait and insert it into the PDF at the appropriate place.
Now is the time for PDFpen. Open PDFpen and open a blank, new document. In a Finder window, select all the images (I had hundreds of them, one per page, and drag them all to the empty PDFpen document window. PDFpen will just slurp all those into one big PDF. The free Apple App Preview might be able to do this step also, but it didn’t seem as robust about it as PDFpen.
Proofread the document, making sure the pages are all in the right place and are all right-side-up, etc. PDFpen makes it easy to drag pages into the order you want, if they are incorrect for some reason.
Save your work.
The feature that we really needed PDFpen for is OCR (Optical Character Recognition). This will allow turning a bunch of pixels into searchable and selectable text in your document. For some reason, PDFpen hides this powerful feature with a weird User Interface quirk. If you look at the Edit menu in PDFpen, you will see OCR Page. But, we want to go ahead and OCR the entire document! That option isn’t visible unless you press the Option key. Then you will see the OCR Document item under the edit menu.
Go ahead and do that. It takes a few minutes, depending on size, and gives a “bing” when it is done.
Save your work again. This is your final, searchable PDF document.